Showing posts with label Foamiran Flowers. Show all posts

Wednesday, 31 January 2018

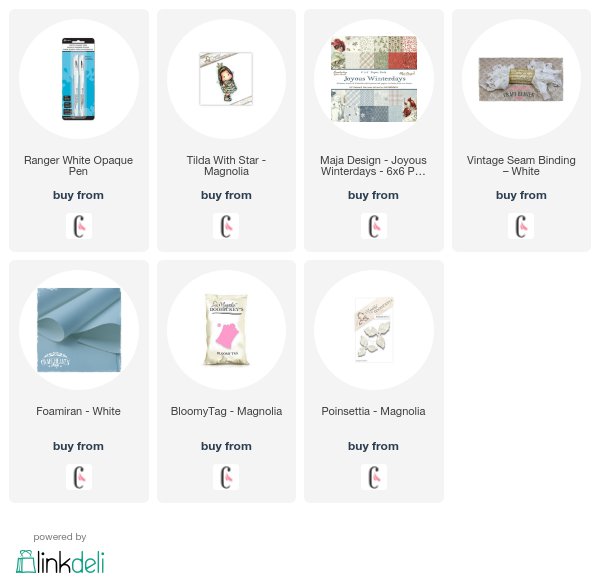
Craft Heaven DT - Christmas in January

 Good morning!  I have a card to share for Craft Heaven DT today and for the first time ever I have stuck to my crafting resolution of making a Christmas card every month in January - well, for the first month anyway - but it's a good start!
 I have used my favourite from last year's Christmas stamps, Tilda with Star and painted her with Distress Inks using the no lines technique.  I have also stamped a snowflake stamp from Magnolia around the edge of the image.
 The papers are from Maja Design and I have used a Doohickey border die from a past Doohickey kit for the punched zig-zag edge.  I have also added some gorgeous lace from Craft Heaven and cut up a Scrapiniec snowflake and star border to use in two places on the card instead of one full strip.
I made the poinsettias out of Foamiran and the poinsettia Doohickey in both sizes.  I inked the inside of them with Bundled Sage Distress Ink before adding the stamens.
I have also used the pine frond Doohickey die - love this Doohickey so much!  The tags were cut with the Bloomy Tag Doohickey die and threaded with white seam binding.
 I hope you like it and thanks for looking! x


Saturday, 21 October 2017

Stempelglede DT - Anniversary Card

Good morning!  I have another card to share with you today using stamps from the new Stempelglede release.  This time I have used stamps from the Have a Beautiful Day stamp set to make an anniversary card for my parents.
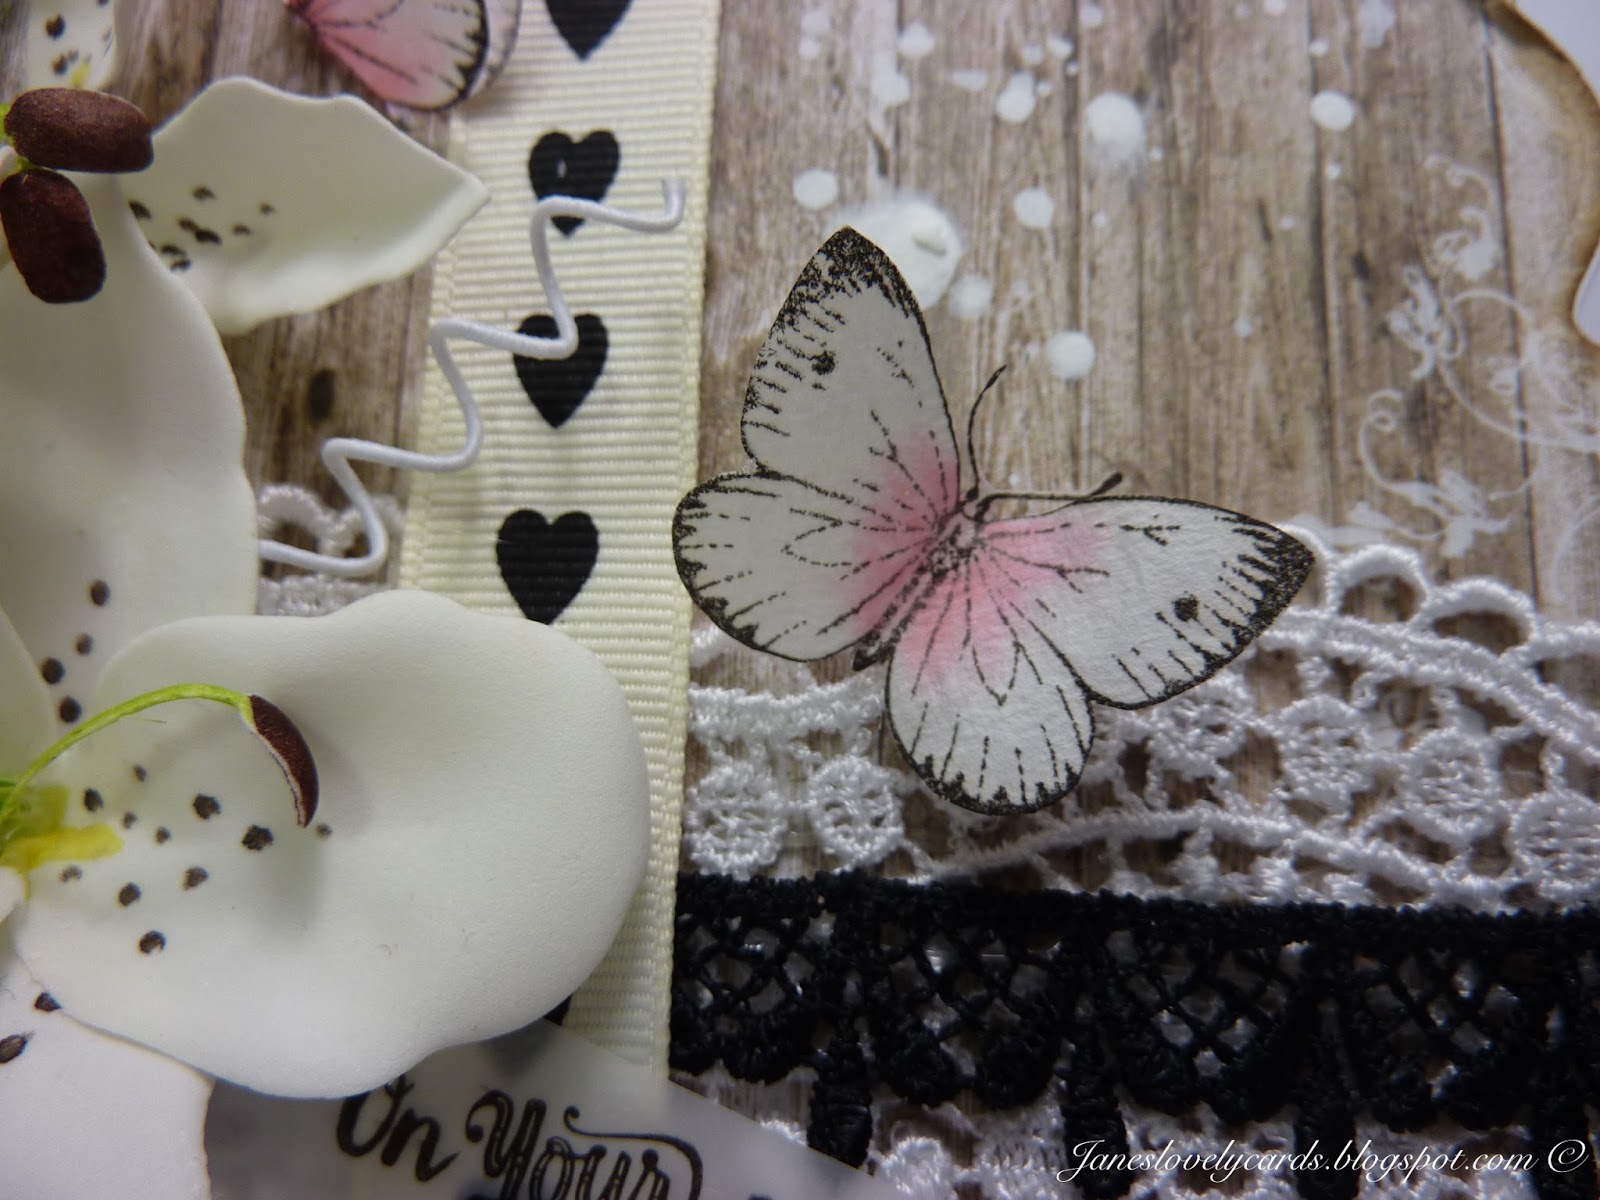
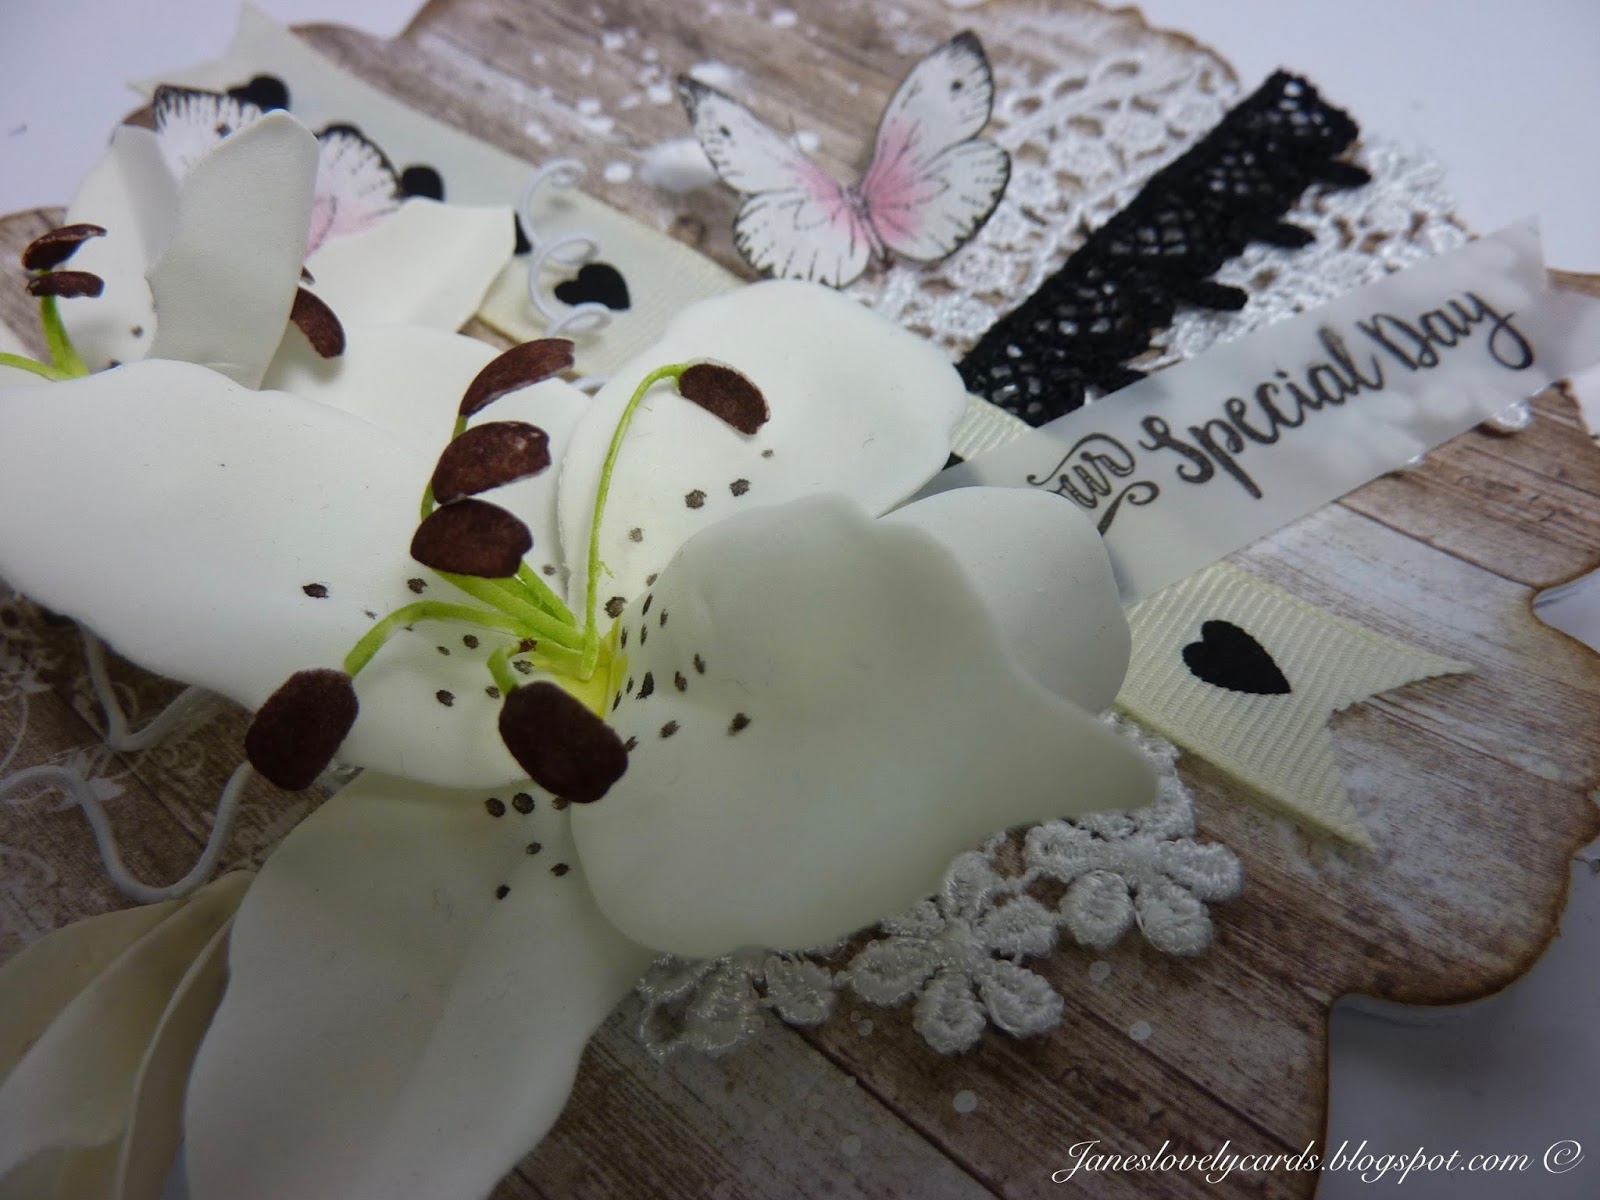
 I have used the 'On Your Special Day' sentiment, stamped onto vellum so as not to detract too much from the lace and ribbon.
 I have also used the butterfly stamp.  I have stamped onto coffee filter paper and painted the centres with Worn Lipstick Distress Ink.
 The second butterfly I have attached to the card folded so that it looks like it is in flight.  The gorgeous heart ribbon I have recycled from some flowers I received.
 I have used the Foamiran lilies on that I shared on my blog a few days ago.  I have used the Whimsy Lily die to make them.
 The wire curls were created with special fabric covered wire from Prima.
 I hope you like it and thanks for looking!  Have a lovely weekend! x


Thursday, 19 October 2017

Magnolia-licious DT - Foamiran Lilies

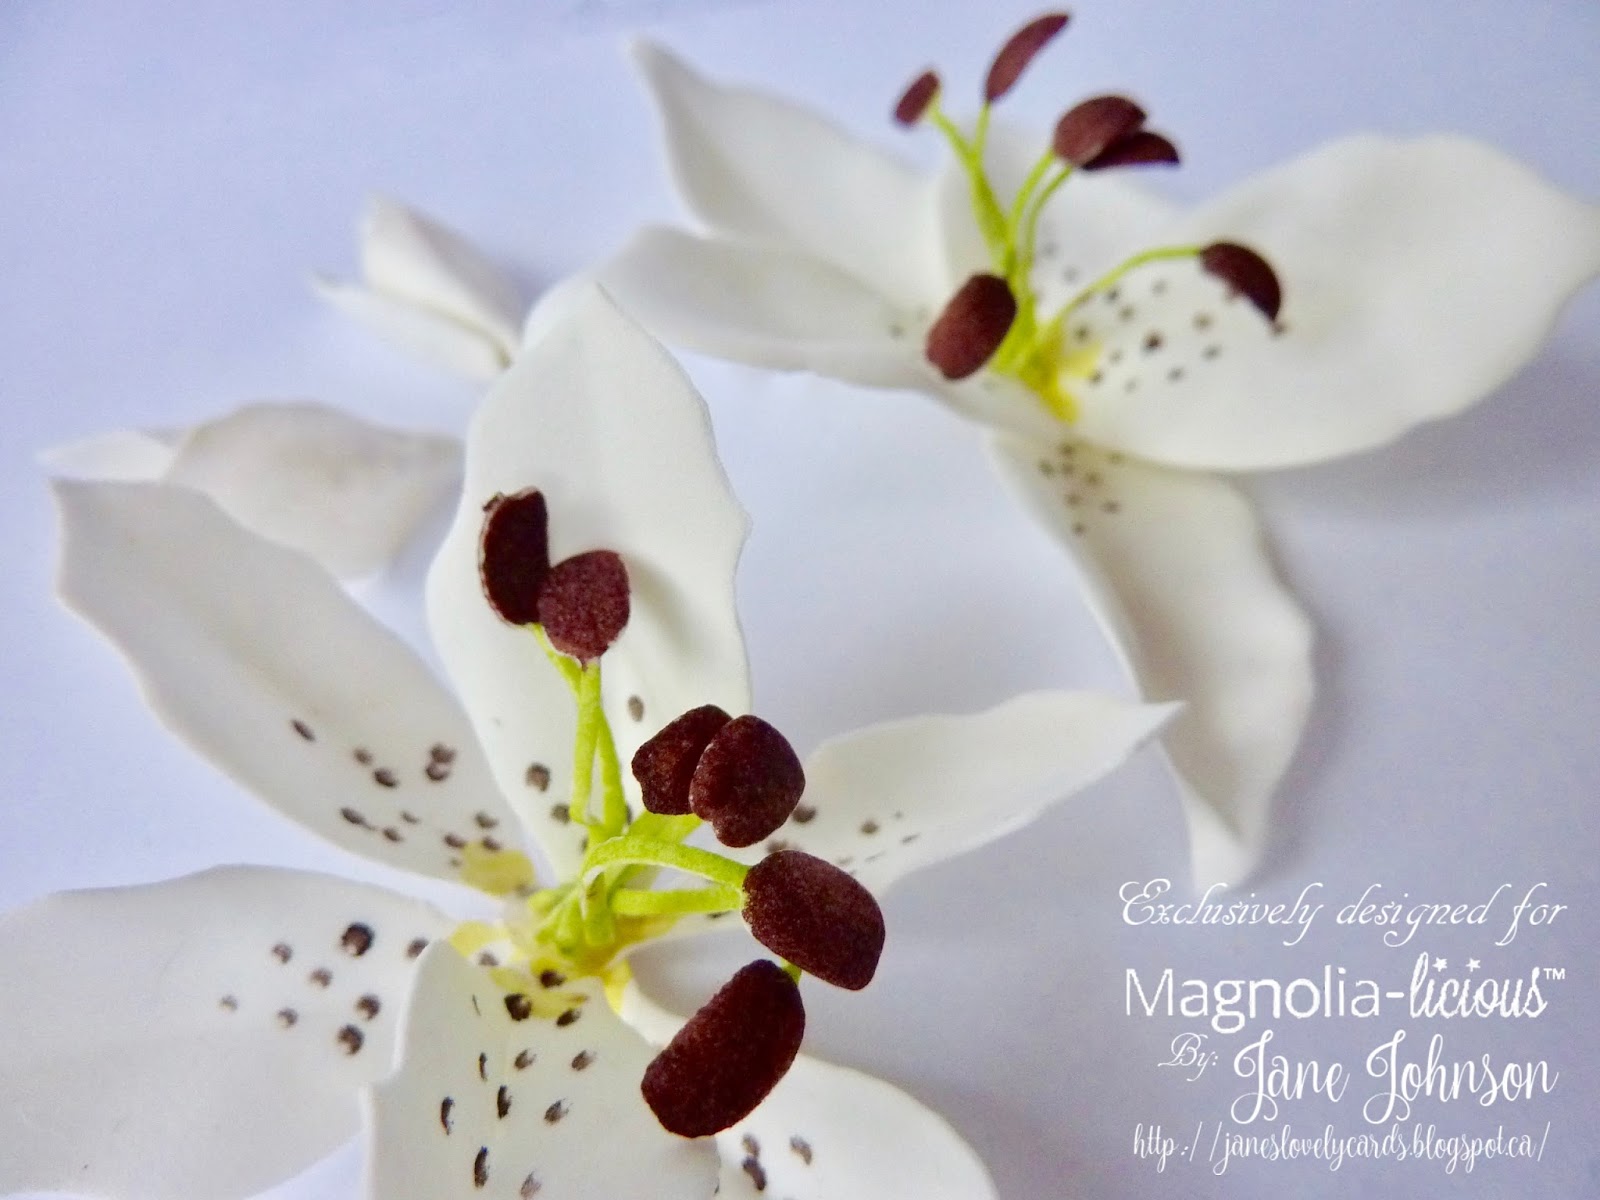
 Good morning!  Today I'd like to share with you some lilies I have made from Foamiran using the Whimsy Shapeology Lily die set.  White lilies are one of my favourite cut flowers to have in the house so the ecru Foamiran was a natural choice for me, but of course you could make lilies in many of the Foamiran colours available!
 I have coloured the anthers with copic markers and added colour and markings to the base of the lily petals with them too.
I hope you like them and thanks for looking!  Check out more Foamiran projects on the Magnolia-licious Challenge blog! x

Monday, 16 October 2017

Magnolia-licious DT - Foamiran Autumn Wreath

Good morning!  I am very excited to share today's Magnolia-licious Foamiran project with you because I have been making it on and off for about a month!  Everything you see on the wreath was made by me - even the wreath itself!  I'm sorry, there are lots of photos because I wanted to capture every detail.
 I'l begin with my favourite flower on the wreath - the hydrangea.  This was created with white, light violet and olive green Foamiran and lilac stamens.  I used a Doohickey from the Vintage Box 1 for the flowers.  Some of the white flowers have been inked with Crushed Olive Distress Ink and the tips of all of them have been inked with Milled Lavender Distress Ink.  Every single flower has been taped and wired so that they could be clustered together to form a hydrangea head.  I love how it turned out!
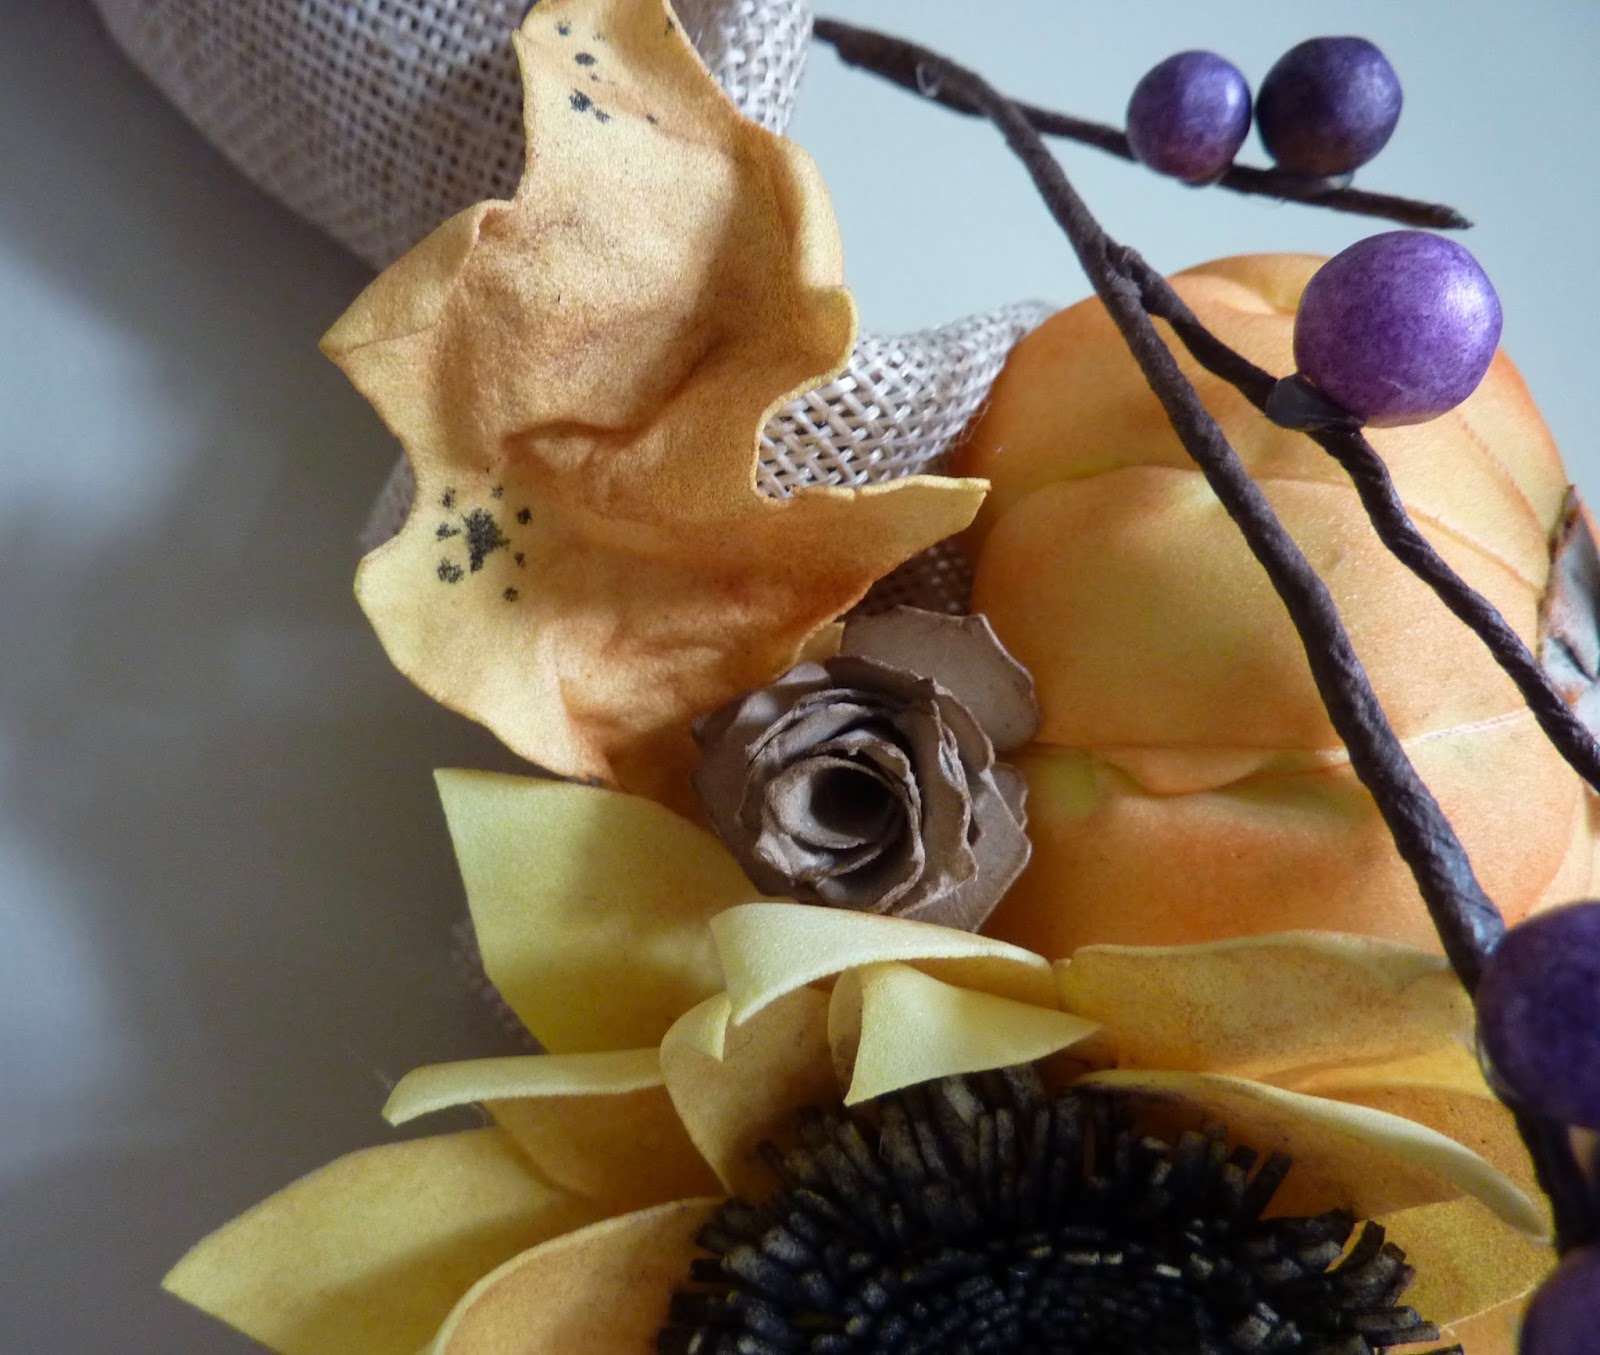
Next to the hydrangea is a maple leaf that I cut out by hand from light violet Foamiran.  I then inked it with Aged Mahogany and Walnut Stain Distress Inks.  You can also see some oak leaves and birch leaves that I also cut out freehand.  These were cut from yellow Foamiran and inked with various yellow, orange and brown Distress Inks.  I also added some spots with a black pen to make them look more realistic.
At the opposite side of the hydrangea is my white pumpkin.  This was made by covering foil with ivory Foamiran and sectioning off with some cotton to create the pumpkin markings.  The stalk is brown paper!
Behind the pumpkin you can see another maple leaf.  This one was cut from red Foamiran and again inked with Aged Mahogany and Walnut Stain Distress Inks.
 Altogether I made four maple leaves - all finished with different inks to get the full colour range of autumn leaves.  This orange one was cut from lemon Foamiran and inked with Tea Die and Spiced Pumpkin Distress Inks.  You can see the black spots in more detail here.
The next flower is a chrysanthemum that I created using circle dies and cutting the petals freehand.  These were all cut from lilac Foamiran and inked with Walnut Stain Distress Ink to make the flower look like it is starting to wither and dry.
Next up is my sunflower.  Of course I had to make a sunflower!  I actually had some real sunflowers on my kitchen windowsill when I made this so it was an excellent reference point!  I tried very hard to get the centre to look realistic.  The whole sunflower is made from lemon Foamiran - yes, even the centre!  I inked the petals with Scattered Straw Distress Ink and the centre with Walnut Stain Distress Ink re-inker.  That was an incredibly messy job!
 Above the sunflower is another pumpkin - this time in orange.  I made it in the same why as the white pumpkin but used lemon Foamiran.  I have inked it with Spiced Marmalade Distress Ink.  The wreath itself I made from honeysuckle branches that I collected from my garden.  I tied them together with jute twine and covered one half with hessian to form a backdrop for the flowers.
You can see another oak leaf in this picture, along with a pine cone made from kraft cardstock using Tim Holtz Tattered Pinecone die.
Running along the entire flower section of the wreath is a spray of Callicarpa bodinieri with its luscious purple berries.  I made it with floristry wire, brown florist tape and purple foam flower centres.  It is another favourite part of the wreath as it looks quite realistic! I made one long spray...
 ...and a smaller one to peep out of the bottom of the flowers.  I will leave you with some more snapshots from different angles so that you can see all of the details.


 I hope you like it and I've inspired you to try Foamiran for yourself.  Thanks for looking!  Shawn has a fabulous selection in the Magnolia-licious store! x


Friday, 13 October 2017

Magnolia-licious DT - Foamiran Poppy


Good evening!  Today I'd like to share a poppy with you that I have made with Foamiran.  I have turned it into a broach for my coat for Remembrance Day.  I loosely followed this Youtube tutorial for a white poppy.


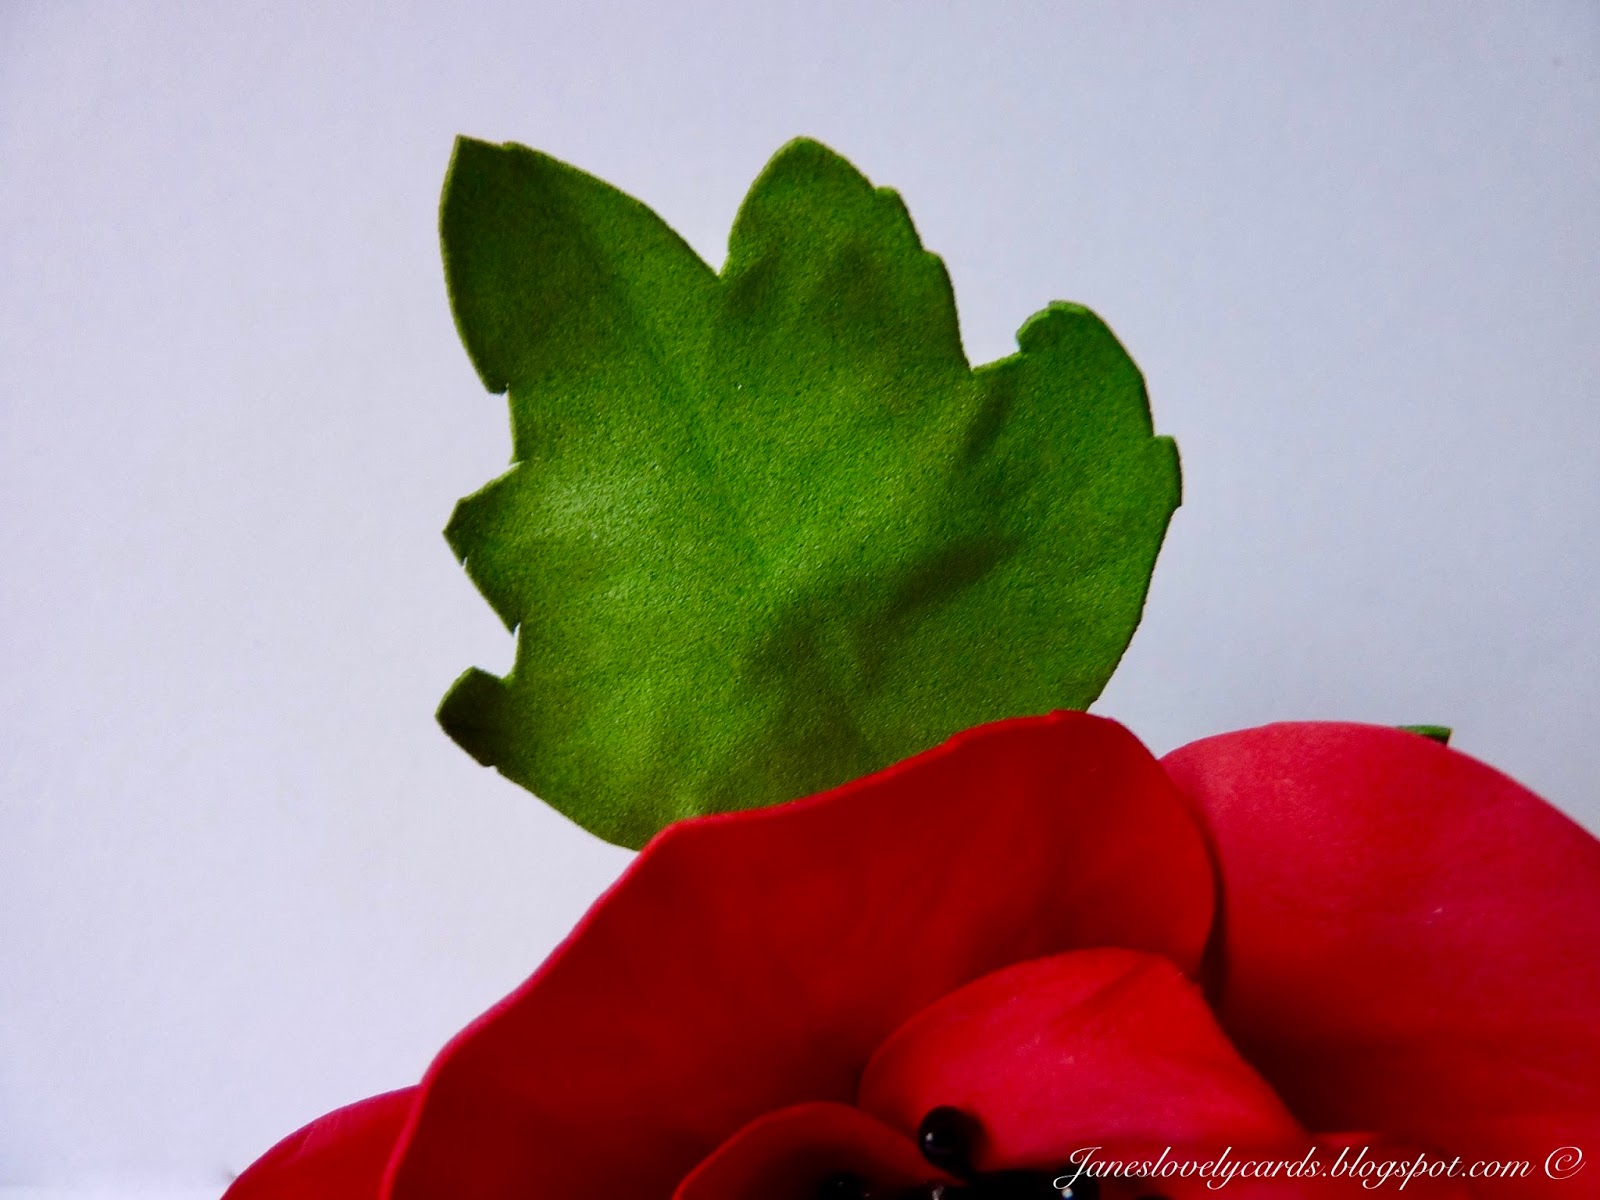
I made the centre with olive Foamiran and surrounded it with black stamens.  I cut out the poppy petals by hand from red Foamiran.


 I also cut the leaves by hand from green Foamiran and veined them with a die pick tool.  The edges were inked with Walnut Stain Distress Ink.
 

There are lots more stamens and Foamiran colours in the Magnolia-licious store if you want to take a look.  Hope you like my poppy and thanks for looking!  Have a wonderful weekend!


Wednesday, 13 September 2017

Magnolia-licious DT - Foamiran Orchids

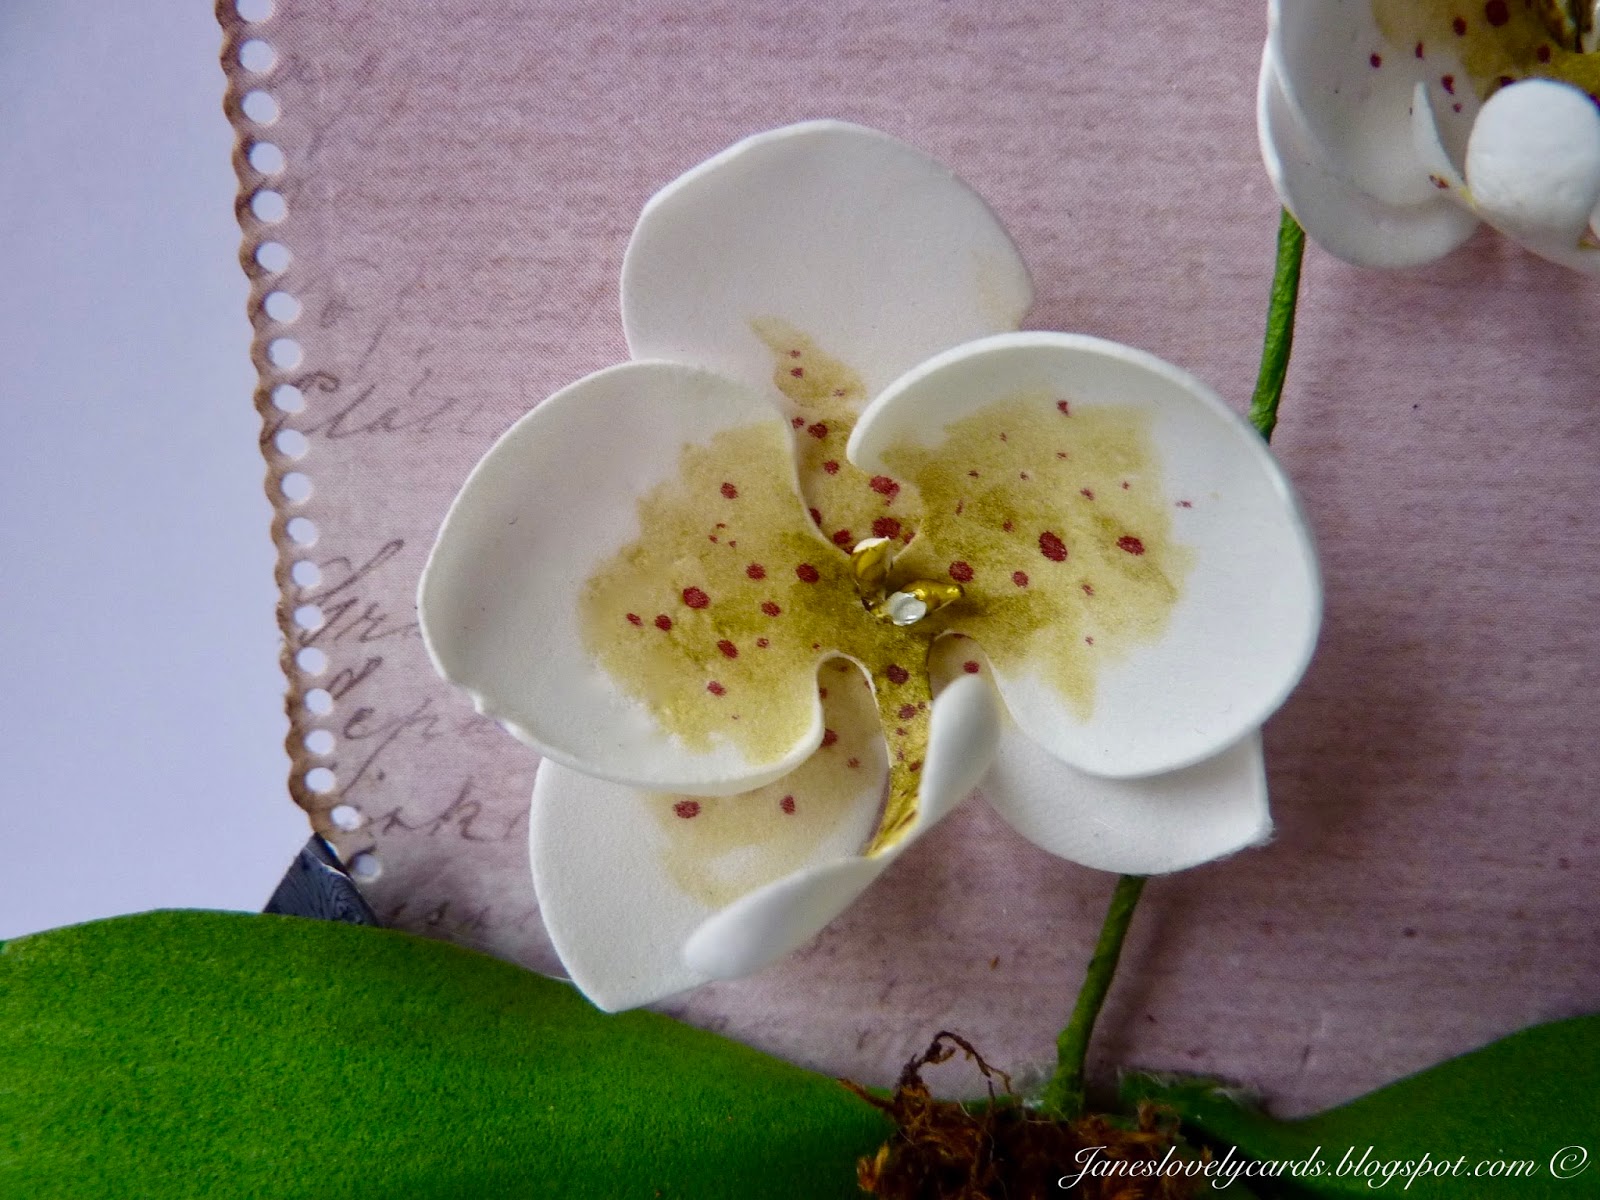
Good morning!  I'm so excited to share today's card and see what you think of it.  It's one of those cards where I've had the idea for over a year but never got around to making.  When I started making flowers with Foamiran I knew I would now be able to make the card exactly how I'd envisaged.  The pink background to the orchids was cut with the recipe card Doohickey.

The leaves were cut by hand from deep green Foamiran and veined it with my scoring tool.  I also inked the edges with Walnut Stain Distress Ink to make them look more realistic.  The roots are flower stems.


I covered the 'pot' in Crackle Accents to give a lovely effect.


I also added a little bit of florist's moss to the pot.


The orchids were made from white Foamiran using the orchid Doohickey dies.  I coloured the centres with copic markers.


For the stem of the orchid I used flower stems.


Check out the Magnolia-licious store for lots of Foamiran colours and flower centres.  I hope you like it and thanks for looking! x


Friday, 1 September 2017

Magnolia-licious - Foamiran Kits

Fancy having a go at making your own Foamiran flowers?  Shawn at Magnolia-licious has put together some great starter kits so that you can do just that!  Each kit contains three pieces of Foamiran, a flower die set and stamens.  There are five different kits to chose from.


Check them out here!