Showing posts with label Sarah Kay. Show all posts

Tuesday, 22 December 2020

Sarah Kay Christmas Card


Good evening!  I have a very quick card to show you that I made in minutes to ensure I caught the post.  Luckilly I had the Sarah Kay image painted in a collection from a couple of years ago and never used it!  


She is still painted with Distress Inks but, as you can see, not the no lines technique.  The papers are from Maja Design.


I hope you like it and thanks for looking!
 

Wednesday, 15 June 2016

Ribbon Girl DT - Sarah Kay

Good morning!  I have another card to share today using lots of gorgeous Ribbon Girl goodies.  I am loving revisiting childhood memories with these Sarah Kay stamps.  I have used papers from the gorgeous Crafts & You Vintage Time paper pad.
I have painted the image with Distress Inks, keeping the colours soft and delicate to match the papers.
All of the flowers are from the Ribbon Girl except the yellow one here.  I have also used Shabby White Ruffled ribbon.
The gorgeous chipboard elements are by Scrapiniec, now available at The Ribbon Girl.
The seam binding and bronze key charm are also from The Ribbon Girl.
I have added a delicate butterfly die cut border around the edge of the card and tiny punched butterflies to the image.
I hope you like it and thanks for looking! x

Thursday, 12 May 2016

Ribbon Girl DT - Sarah Kay Card

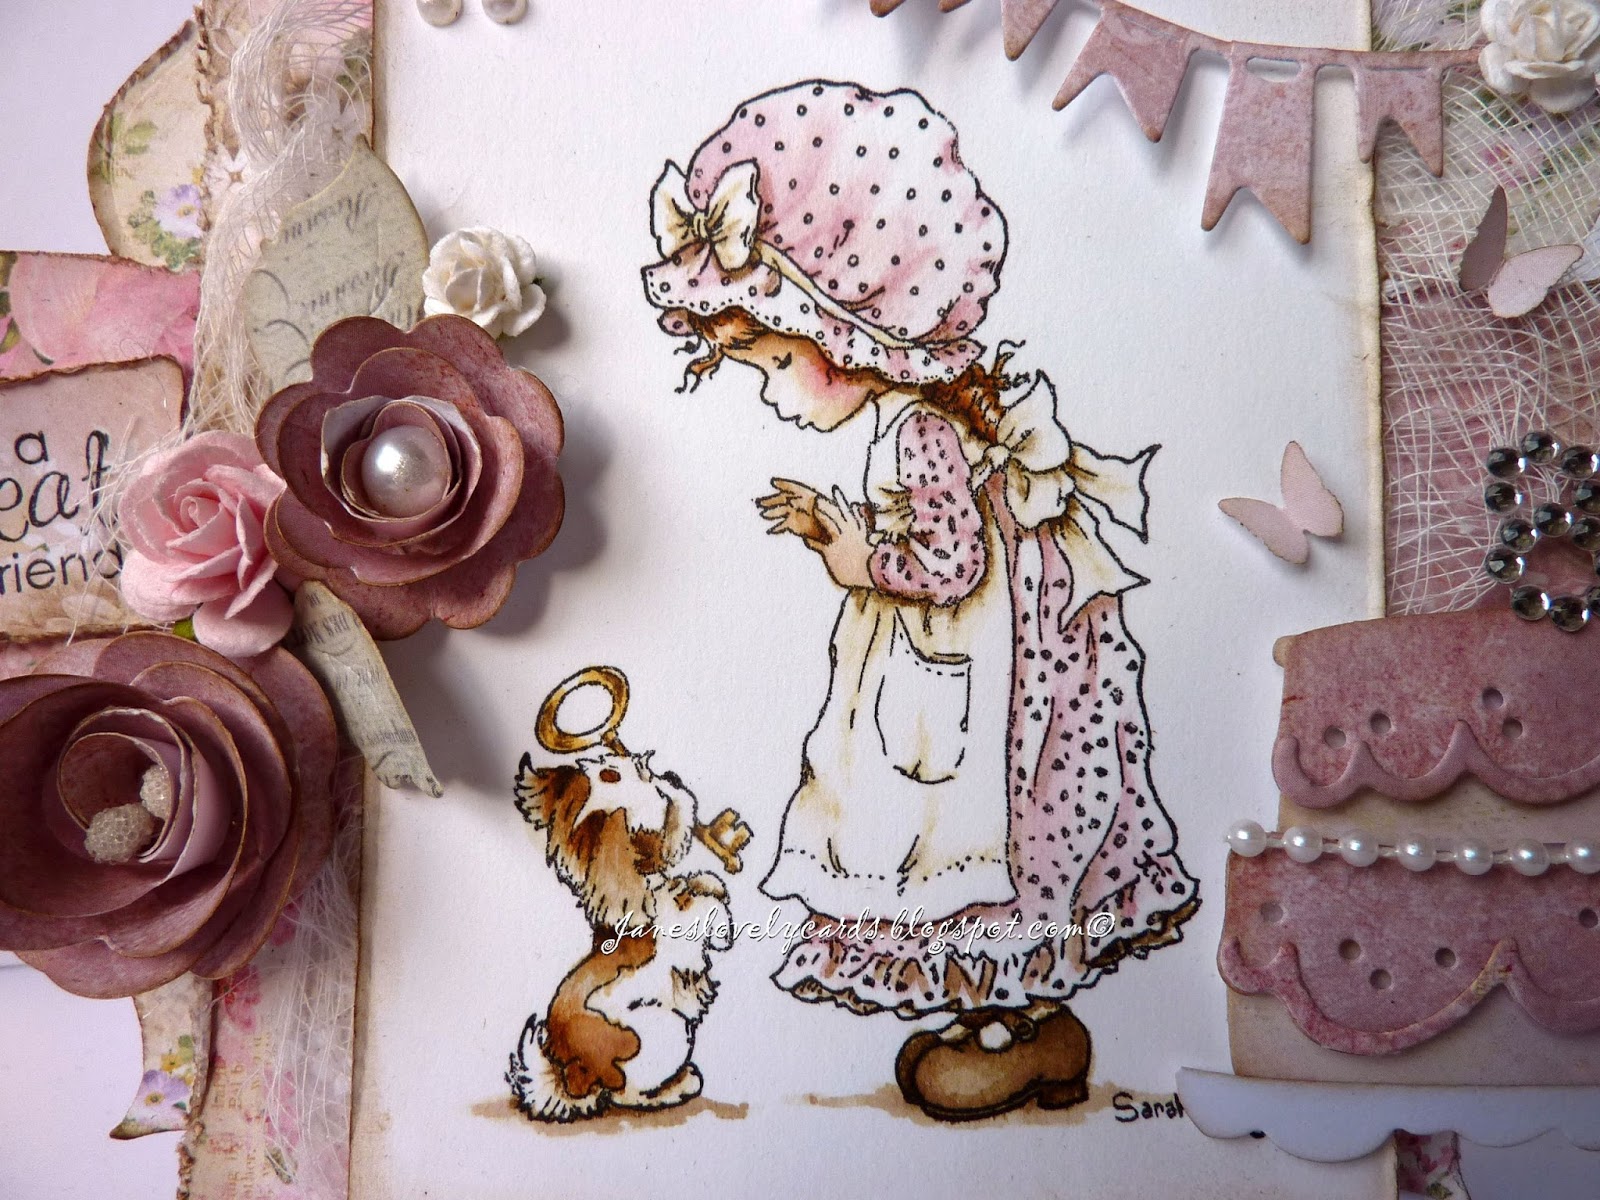
 Good morning!  I have a card to share today using some more of the gorgeous papers from the Crafts & You Vintage Time pad available at the Ribbon Girl.  My daughter needed a card for her friend who loves pink and these papers are perfect for the job!  So girly!
 I have painted another Sarah Kay image with Distress Inks.  I love this little girl's mop cap and pinny.
 I have used the wedding cake Doohickey to create a birthday cake and added a diamante 8 and some pearl string from The Ribbon Girl.
 The flowers and cheesecloth are also from The Ribbon Girl and I have also added some paper flowers cut with a Sizzix die.  The sentiment is from Whimsy Stamps.
 I've used the Doohickey pennants die along the top of the card along with some tiny roses.
I hope you like it and thanks for looking! x

Tuesday, 3 May 2016

 Good morning!  Today I have a card to share using a Sarah Kay image.  When I was a girl I collected Sarah Kay stickers so the stamps make me feel so nostalgic!  This little boy chasing turtles is so cute and perfect for my nephew's birthday card.
 I painted the image with Distress Inks.
 The balloons were cut with a Doohickey die and the number three is from The Ribbon Girl.
 The bark star is also from The Ribbon Girl.  I have cut the star border with a Martha Stewart punch and the fence is another Doohickey die.
 I added a selection of die cuts and buttons to the top left corner of the image.  I don't know why, but I always seem to put buttons on cards for little ones!
The sweet little bunnies were cut with a memory box die.  I hope you like it and thanks for looking!

Tuesday, 28 February 2012

Deep Ocean Challenge DT - Spring

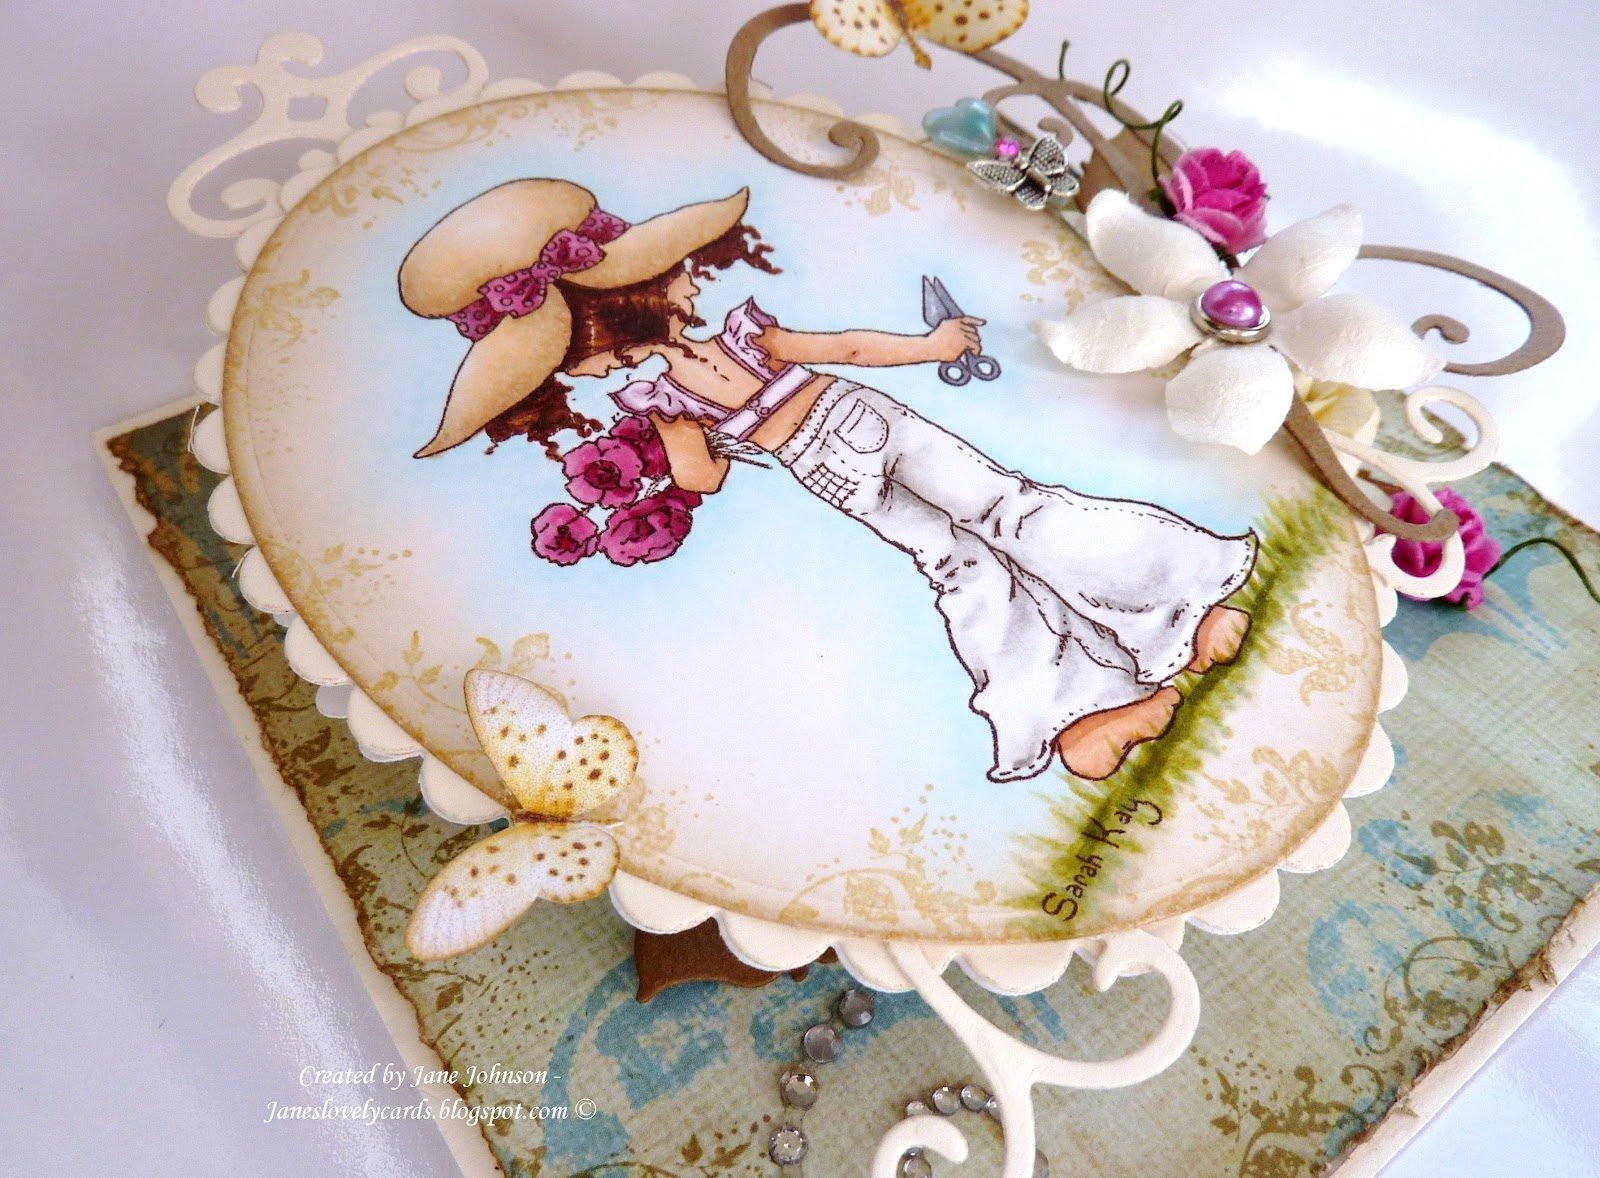
Woohoo!!  It is time for another challenge at Deep Ocean Challenges and our theme for this fortnight's challenge is "spring"!!  This was perfect for me as I received a commission for a card with a request that I use this gorgeous Sarah Kay image.  I really must get some more Sarah Kay stamps, it's a while since I used this one and it was so lovely to colour!  I think I say this every time I use a Sarah Kay stamp lol, but I had Sarah Kay stickers all over my dressing table mirror when I was a girl so she has a special place in my heart!  I wanted the card to look a bit like a picture in a frame on a dressing table as it is actually to be a Mother's Day card.
I created the "picture frame" around the image with various nesties.
 I coloured the image with copics, including the grass and sky around her and I have stamped around the edges of the image mat with a grunge stamp from Stempelglede's Vintage Garden set with antique linen distress ink.
 I added a doohickey swirl to the right of the "picture frame" and added some gorgeous butterflies cut from Webster's Pages.  I created the pin myself by altering a heart pin.
 The flowers are from my stash and I also added some doohickey rose leaves and a sparkly button to perhaps represent an earing on the dressing table.
 I added some gems in a swirl and the paper on the base of the card is from La Paperie stack by MME.  I stamped the same Stempelglede stamp from the image mat around the edges of the paper, this time with frayed burlap distress ink.
This is what the card looks like when it is folded flat(ish) for presentation in it's box.  You know, I'm looking at these pictures as I'm typing and these are my favourite colours together, butterflies and vintage style - I'm not sure I can sell it lol!!  Might have to make something else for my commission!
I hope you like it and I've inspired you to join us this fortnight at Deep Ocean Challenges!  Pop over to the blog to see the rest of the team's stunning creations!  Thanks for looking! x

Wednesday, 22 September 2010

Simon Says Stamps Challenge DT - Jay Jay's sketch

This week at Simon Says Stamp's Challenge we are joined by the lovely and talented Jay Jay and she has very kindly provided a fantastic sketch for us all!! The design team are showcasing Sarah Kay images this week so if you have any we'd love to see them on your creations but it is not compulsory for the challenge! As usual you have the chance of winning a $25 gift certificate for the Simon Says Stamp Store courtesy of Heidi!!

I absolutely LOVE this Sarah Kay image. I probably say this every time I do a Sarah Kay card, but my bedroom mirror was covered in Sarah Kay stickers when I was little so I always find these images a real trip down memory lane LOL!! I just love the huge hats and victorian clothing! I've teamed this beautiful image with the last full piece I have from the Basic Grey Wassail paper pad. I have used the ends of some fancy tag die cuts to create a fancy frame for the image.


I've coloured the image with copics to match and inked around the edges with bundled sage distress ink.
The lace and pearls are from my stash and the snowflakes are punched with MS snowflake punch and spellbinders create a flake dies. I've inked the edges with walnut stain distress ink for a vintage look.

The "joy" sentiment was cut from some K&Co paper and I've added it to part of a fancy tag to attach it to the image. I've used stickles on the edges of all the papers.

Hope I've inspired you to join us this week at Simon Says Stamp's Challenge. Pop and have a look at the rest of the teams gorgeous interpretations of Jay Jay's sketch!! Thanks for looking! x

Wednesday, 9 June 2010

Simon Says Stamp Challenge DT - Recipe


Good morning!!! It is time for another Simon Says Stamp challenge and this week we have a recipe for you: 3 types of embellishment, 2 papers and 1 image. The DT are showcasing Stampavie stamps this week. Simon Says Stamp have a huge selection of Stampavie stamps and there are so many different artists and styles to choose from - love it!!! I chose to use one of the very first stamps I ever bought, a gorgeous Sarah Kay image, appropriately called "Mommy loves you" and made a very special project...............


.................a memorabilia box for my baby girl (who's now 2 but of course still my baby girl!). This is the top of the box with my 2 papers, 1 image and 3 types of embellishments (flowers, ribbon, crystal chandalier) in huge abundance! I have used gorgeous Magnolia papers from the fairytale collection, available from Simon Says Stamp in full sheets or sets where you get a piece of each paper! I have distressed the edges with Walnut Stain distress ink and used pickett fence crackle paint on the edges of the box. The box itself I have made myself using lots and lots of chipboard!!


Let's take a closer look at some details. I have added lots of flowers from Wild Orchid Crafts, all sprayed with glimmer mist and two crystal chandalier strands for some sparkle. I have used my MS punch around the page punch to create a frame for the princess crown paper and oval nesties for the image.


I have coloured the image with distress inks. I wanted an old watercolour feel so added a smudgey grass background and kept the colours soft. I have inked the edge of the image mat with walnut stain distress ink.


The edges and corners of the box have been aged with distress ink to give it a well loved feel. I added a few large gems where the lid hinges as though the lid is studded.


On the front of the box I added two large bows with pink grosgrain ribbon to match the one on the top, there are magnetic clasps behind each bow to keep the lid closed.


Lets have a look inside! Lift the lid to reveal a fold down flap......which hides lots of little drawers.........


......each one completely covered in more princess paper, aged with walnut stain and labled with fancy tags. I created the name plates on the computer.


There is a draw for momentos, one for that cute first curl, first tooth and also for the name tag they get in hospital that look so amazingly tiny now! The top section is for first drawings! (can you tell I keep anything and everything LOL). I got the idea from a baby box I saw in a local gift shop, I think that one had another drawer but I couldn't remember and hey this took long enough to make LOL!


But so worth all the hard work because now I can fill the box with all those precious baby memories of my little girl......


......bless her! This is my favourite photo of her taken this time last year! Now I need to make another one in blue for my little boy's things! (when I've recovered from making this one LOL).


Sorry for the long post but I wanted to show you all the details. If you're still awake I hope I've inspired you to join us this week at Simon Says Stamp!!! Pop and have a look at the rest of the teams stunning creations for more inspiration!! x


Wednesday, 3 March 2010

Simon Says Stamp challenge DT - Mother's Day/Girly

Well here I am with my second post of the day! It is time for another challenge at Simon Says Stamp challenge! Thank you for all your gorgeous vintage creations last week, I loved looking at them all as it is my favourite style!! This week we have a theme of Mother's Day/Girly for you seeing as it is almost Mother's Day in the UK (hmmm wonder if I'll get a much needed lie in??). The rest of the DT are showcasing gorgeous Hero Arts products this week but unfortunately I do not have any (although I have some on the way LOL) so I have made my card following the theme only! I used the stunning sketch by Tina at Stamp with Fun for the layout of the card. All of the papers are from K&Co's Wild Saffron collection except the plain beige strip which is a scrap of a Kaisercraft paper. I've heavilly distressed them with tearing and inked the edges with vintage photo distress ink. I also stitched the edges of the main BP. I also managed to enter Stamp Something's recipe challenge as they want to see designer paper, buttons and ribbon!!

I love this gorgeous Sarah Kay image! I've coloured her with distress inks and stitched around the image too.

How gorgeous are these Prima flowers?? This large pink one was my favourite and it was such a struggle to use it LOL but I suppose as I will be giving the card to my Mum for Mother's Day I will still be able to see it!! I also added a blossom, some punched leaves and some gorgeous pins which were a gift from the lovely Katharina - thank you so much I love them!!

The white panel under the lace was punched using Martha Stewart's punch around the page double loops punch. I inked the edges too to soften the white. The cute flower buttons are from my stash as is the twine and gorgeous lace.

I hope you can join us this week and do pop over to the challenge blog to see the rest of the DT's gorgeous work - I'm loving their Hero Arts creations!!! Thanks for looking! x

for my Whiff of Joy challenge card please scroll down