Showing posts with label Altered items. Show all posts

Tuesday, 7 March 2017

Magnolia-licious DT - Anything Goes With Ribbon

 
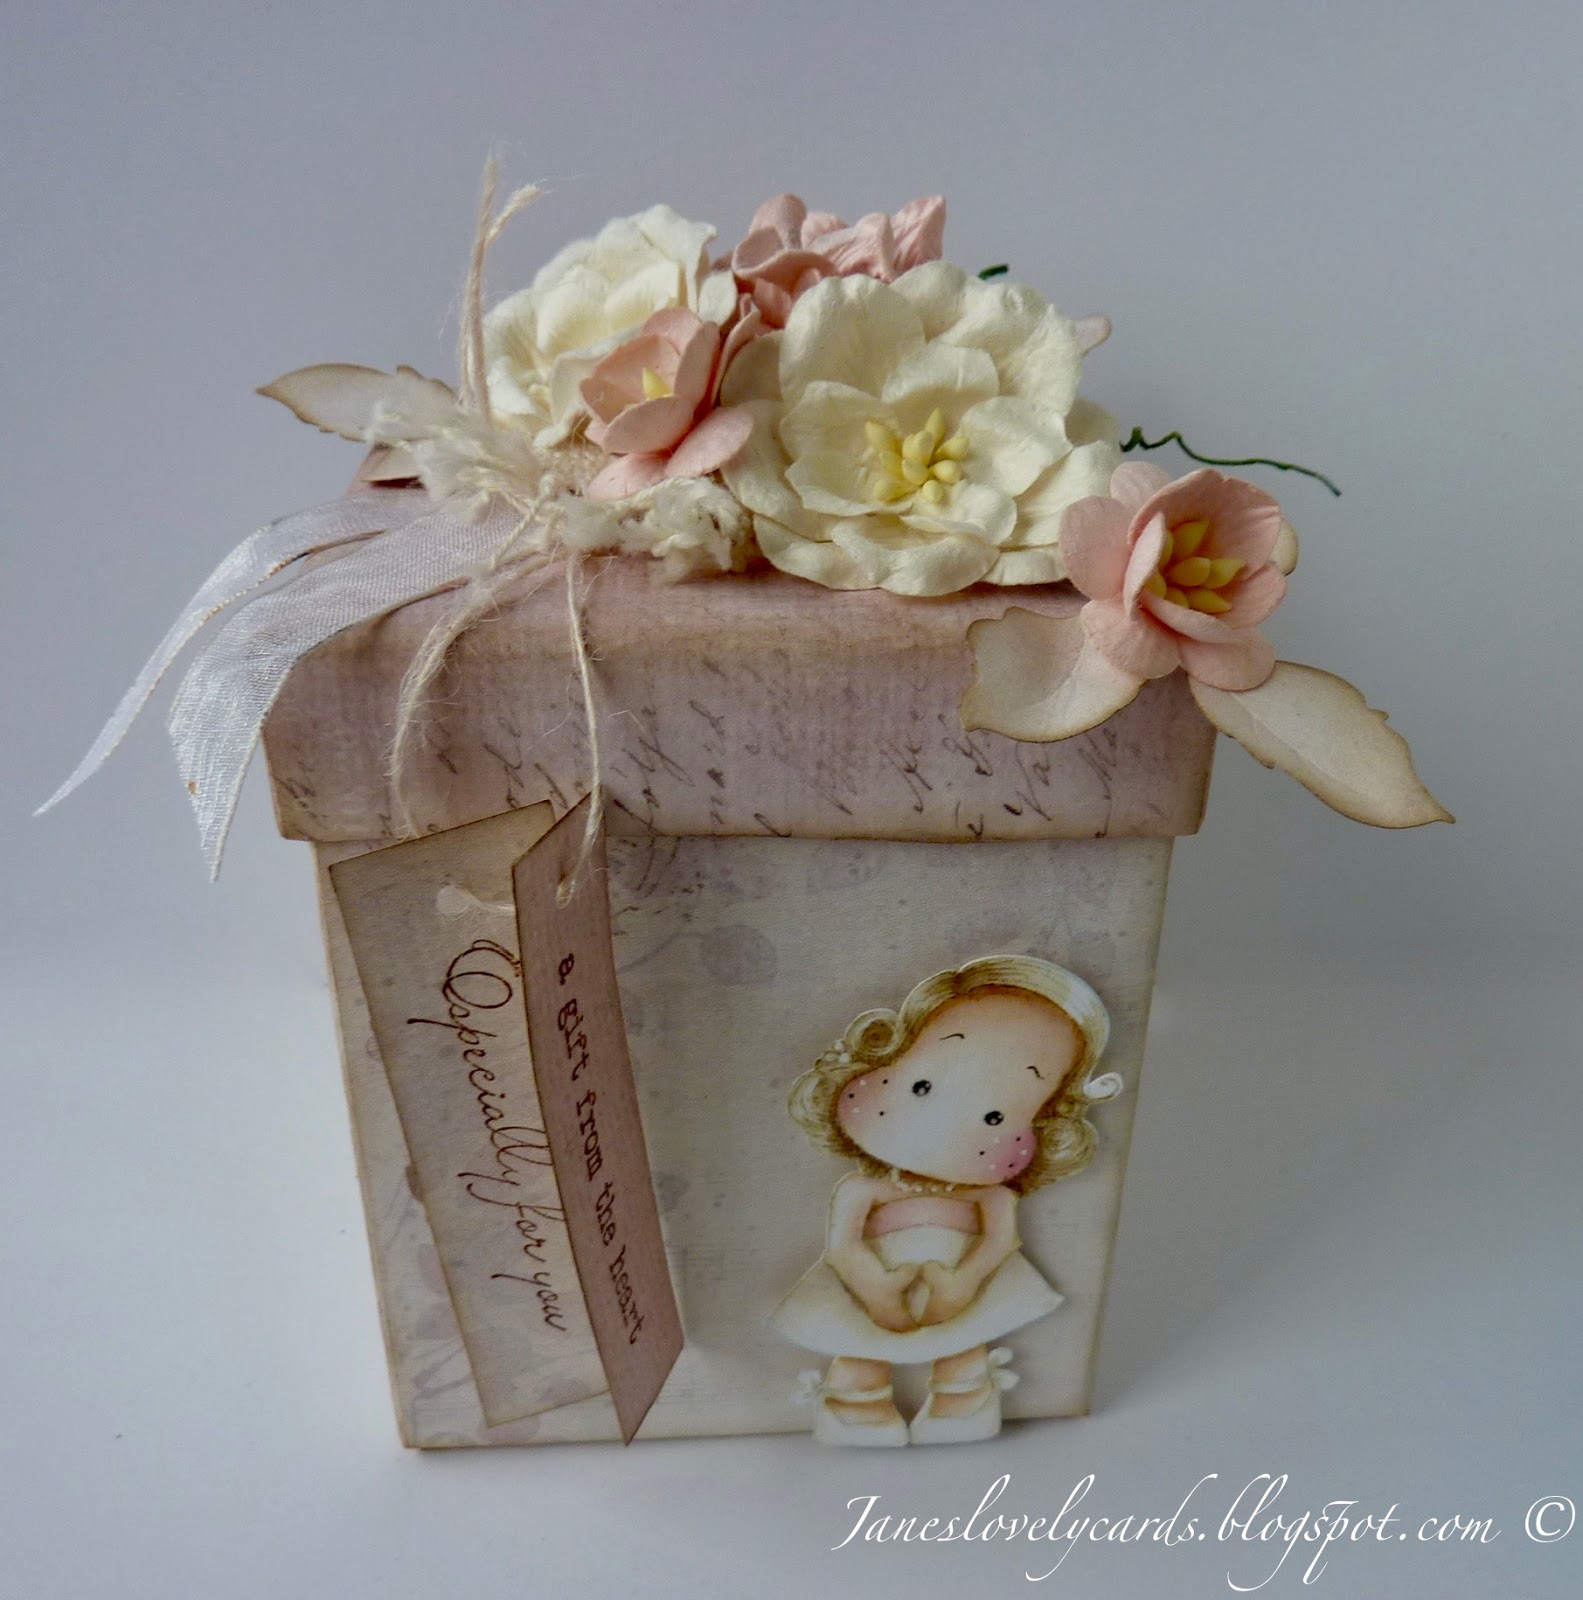
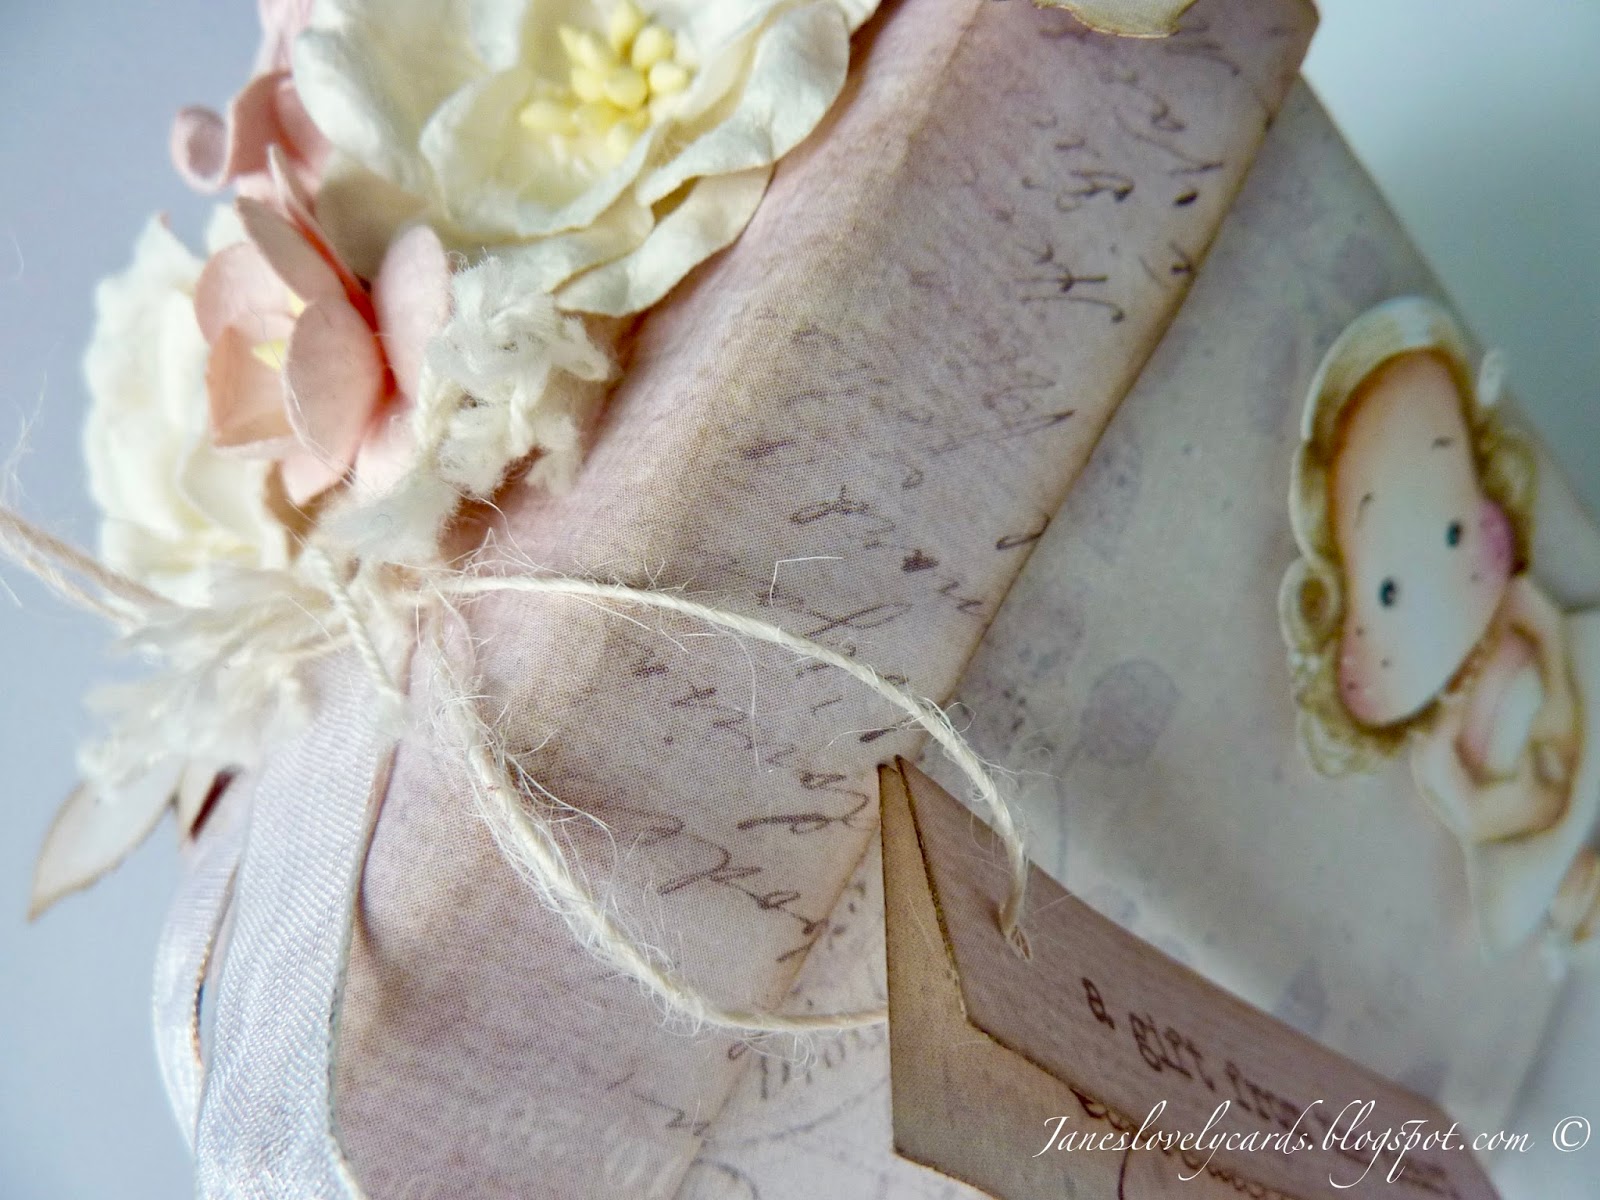
 Good morning!  It is time for another challenge at Magnolia-licious, and this week we have an 'Anything Goes' challenge with the option of adding ribbon.  I have altered a gift box ready to house one of my little girl's birthday presents in a few weeks.  I love being able to reuse things like this.  The box held a gift on my birthday and was originally blue.  I have covered it with gorgeous Pion Design papers and inked the edges with Walnut Stain Distress Ink.
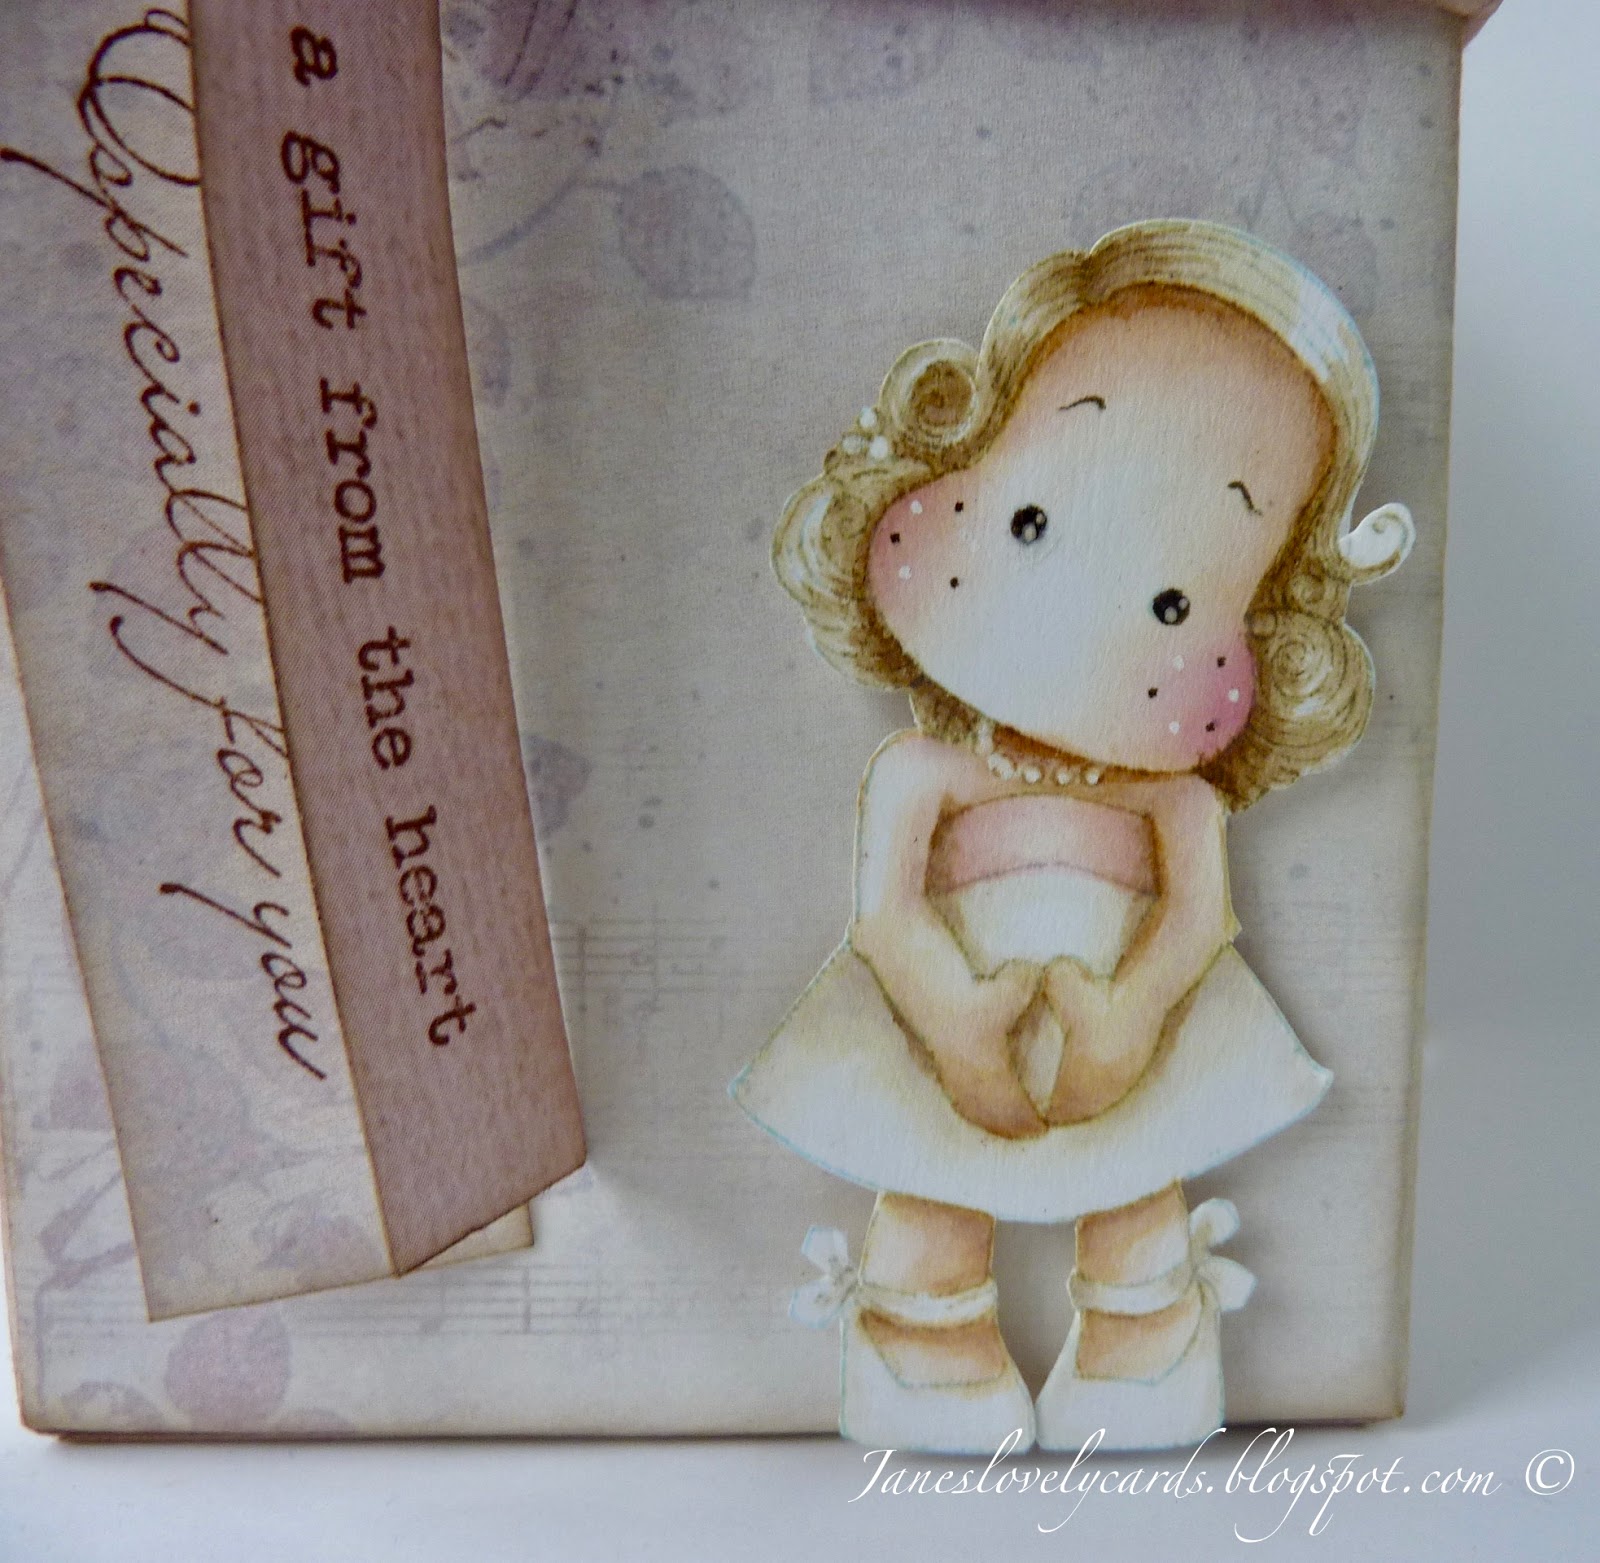
 For the image it had to be this stunning new Tilda, Dressed for Festivities Tilda.  I have painted her with Distress Inks using the no lines technique.
 The sentiments are both Magnolia stamps from quite a few years ago, stamped onto the same papers.
 On the lid of the box I added a lace bow, some chiffon ribbon and lots of flowers and leaves.
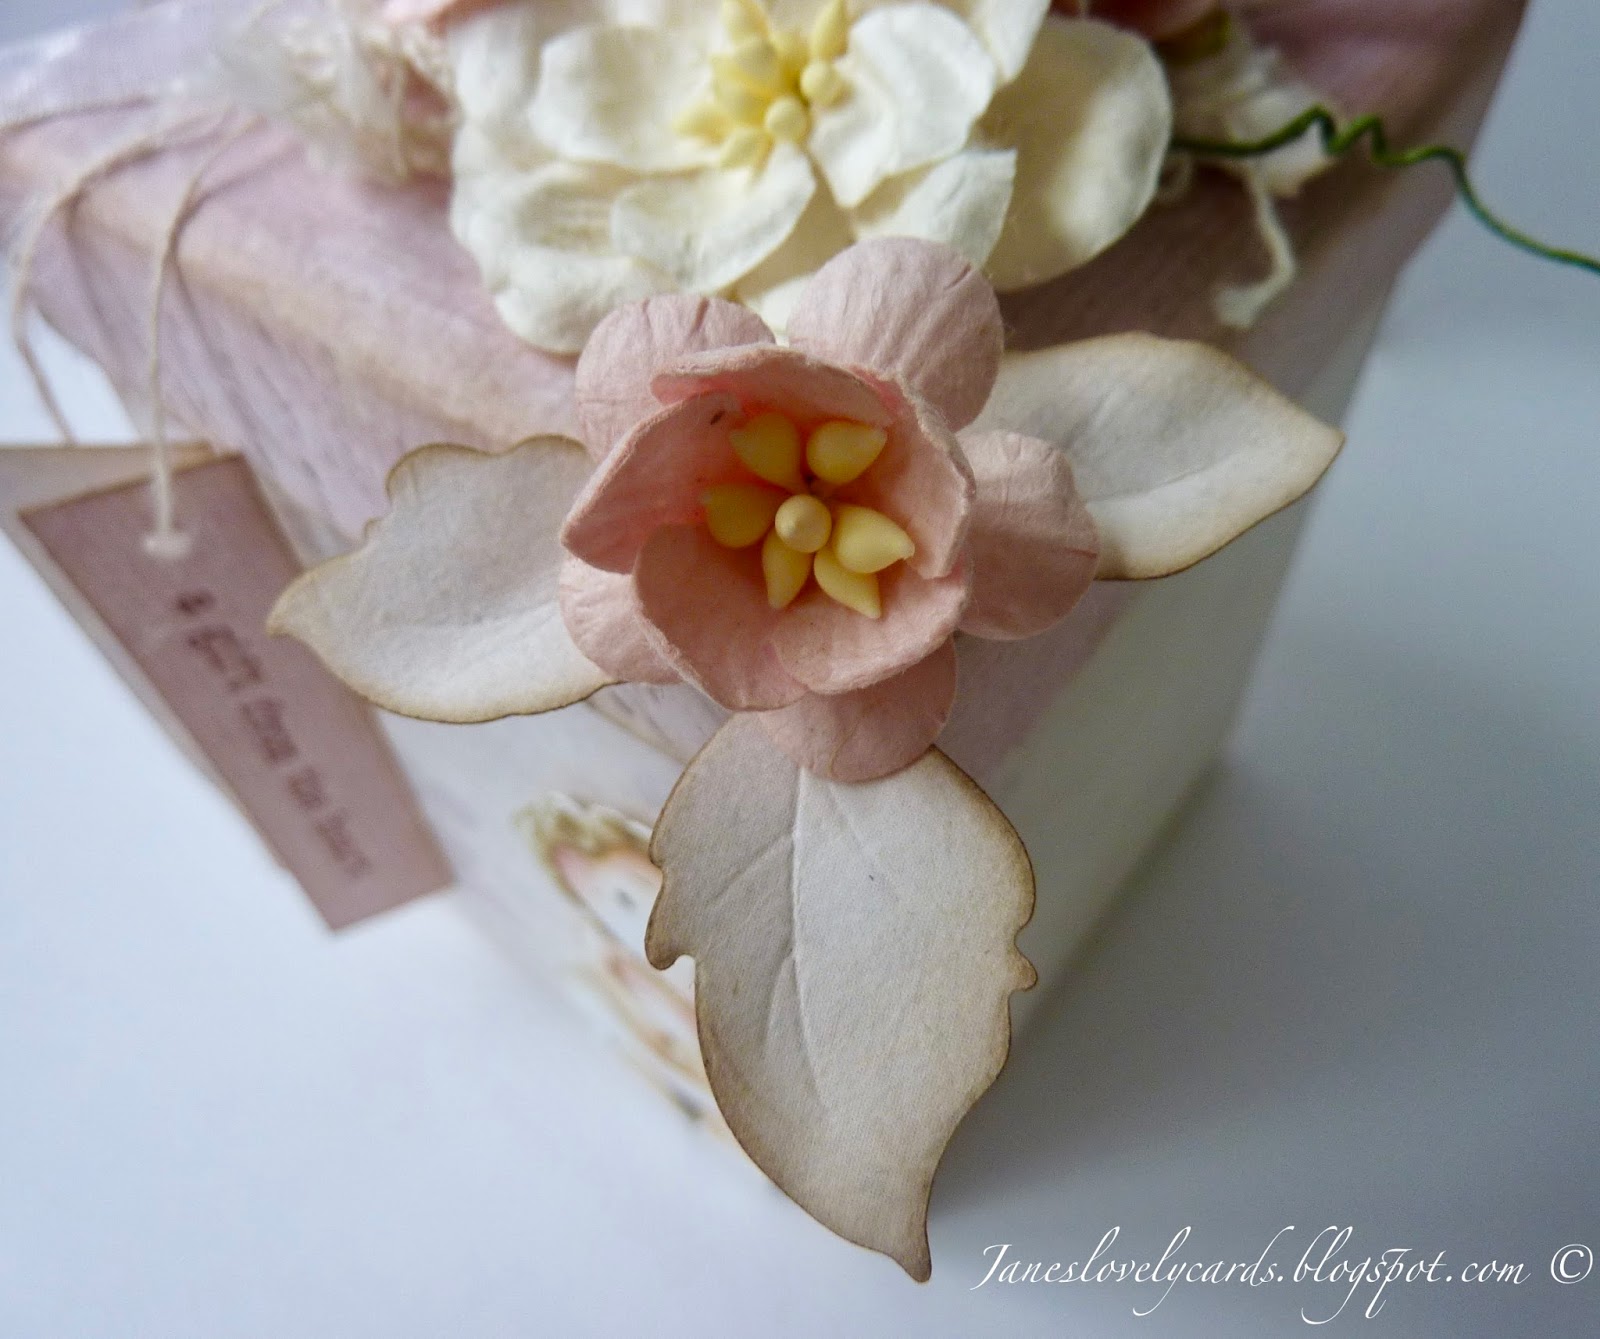
 The cherry blossoms and Magnolia flowers are from The Ribbon Girl, as is the lace.
 I used the Rose Leaf Doohickey die for the leaves.
 I love the pretty butterflies on the Pion Design paper.
I hope you like it and I've inspired you to join us at Magnolia-licious Challenge.  Pop over to the blog to see the rest of the team's gorgeous creations.  As always Magnolia-licious is sponsoring the challenge with a fabulous prize.

Thanks for looking! x

♥

Monday, 27 February 2017

Ribbon Girl DT - Altered Chocolate Box

 Good morning!  I have an altered chocolate box to share with you today that I have decorated using lots of gorgeous products from The Ribbon Girl.  I have decorated it for my daughter so that she can keep little bits and pieces in it in her room.  I began by covering the base of the box with some pretty pink paper.  I inked the edges of the paper with Walnut Stain Distress Ink.
I also covered the bottom of the box with the same paper.  Luckily these boxes are the same shape oval as one of my Spellbinder dies, making covering the bottom and the lid incredibly easy!
 I left the sides of the lid black to accentuate the pretty 25mm Deborah ivory fine cluny lace that I have wrapped around it.
The ribbon loop on the top of the lid is actually the original loop but you can get pink satin ribbon from The Ribbon Girl if you wanted to create something similar.
After covering the top of the lid with the same paper I added a string of pearls around the lip of the lid and added lots of pretty flowers.  Some pretty little Forget-me-not fabric flowers and some apple blossoms.

 To complete the box I wrapped a piece of Lilac tulle around the sides threaded through a pearl ribbon slide.

 I hope you like it and thanks for looking!

♥

Saturday, 24 December 2016

After Eight Mint Box Cover

 Good evening!  I hope your Christmas Eve has been a lovely one so far.  This year I decided to make a box to cover up the dark green of the After Eight Mint Box so that it fits in with the rest of my Christmas table.  I'm very pleased with how it turned out.  I have used papers from Pion Design and dusted off my sewing machine to stitch around the edges.

On the front I have used the new plate Doohickey from the Magnolia Advent Calendar, a snowflake Doohickey and a swirl Doohickey, and finished it off with a Scrapiniec chipboard clock which I've covered in Stardust Stickles.
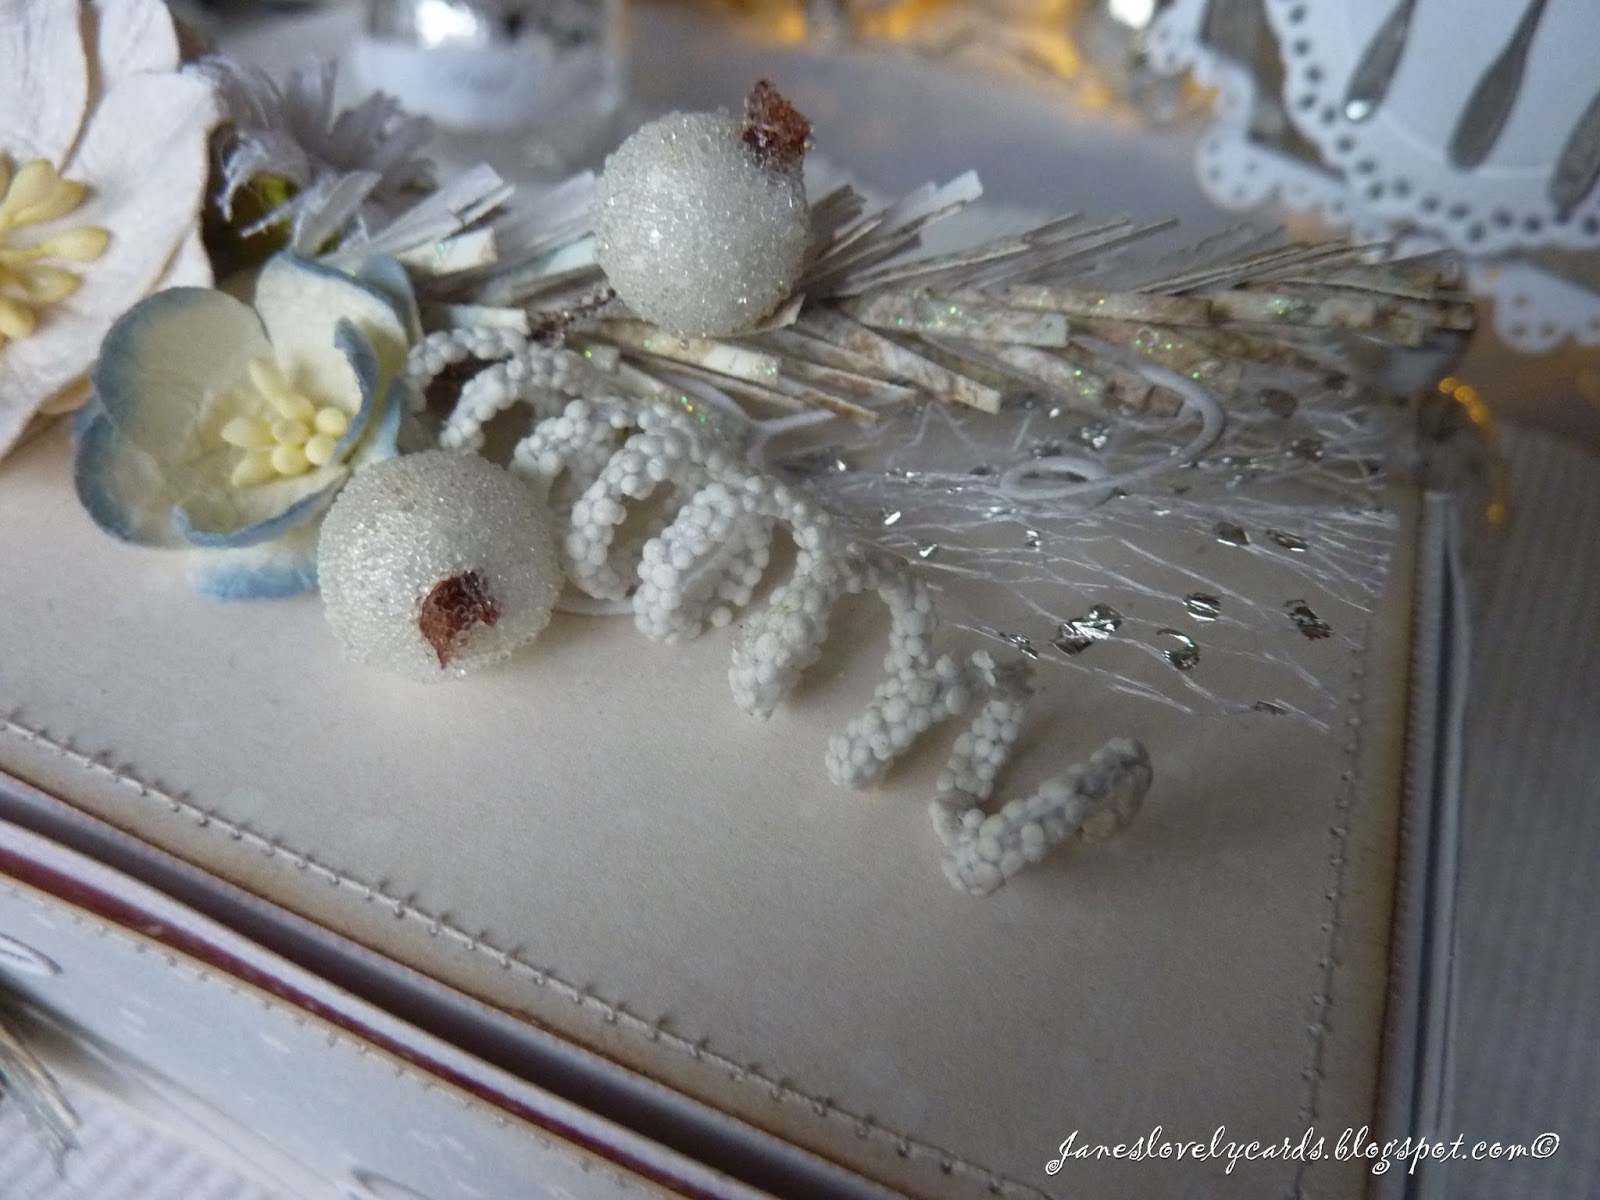
 On the top of the box I've used the same swirl Doohickey and then created a spray of flowers, leaves and berries.
 I have used the pine Doohickey to create some fir tree branches and added beaded twirl stems and flowers from The Ribbon Girl.  The berries are from my stash.
 In the centre is a Hellebore flower and then the other side matches the left side of the spray.
 I have also added a touch of silver flake ribbon from The Ribbon Girl for a bit of sparkle.
 On the back of the box I have used the swirl and plate Doohickeys as on the front and topped it with a snowflake made with a Tim Holtz die.
 The snowflake is adorned with a crystal and pearl centre from my stash. 
 The inside of the lid is decorated with the same paper from Pion Design.
 I also made some place cards for my Christmas table using some of the dies from the Advent Calendar.
 I've used the plate again and the glasses, knife, fork and spoon dies.
 I cut the glasses from acetate and have added some Stardust Stickles to the rims to look like they are dipped in sugar.
 I used one of the label dies from the calendar to add names to the place card holders.  The hearts came with the glasses dies.  These were also cut from acetate and then coated in Stardust Stickles.
 Here's all four that I made for our table tomorrow.
 I hope you like them and thanks for looking! 
Now that my table is all set for tomorrow I can relax for the evening.  I hope you have a wonderful Christmas and it is everything you hope for. x

♥

Friday, 23 December 2016

Holly Wreath Tilda

 
 Good morning!  I have another Christmas card to share with you today, this time using sweet Holly Wreath Tilda.
 As usual I have painted Tilda with Distress Inks using the no lines technique.  I have also used a Magnolia post mark stamp around the edges of the image. 
The flowers, cheesecloth and button twine are all from The Ribbon Girl.
 The fabulous Santa belt ribbon is from my stash. 
  The lace is from The Ribbon Girl.
I have used the Heart Tag Doohickey from Magnolia for the tags behind the image.
I hope you like it and thanks for looking! x

♥

Wednesday, 9 November 2016

Midweek Magnolias Challenge DT - Winter

 Good morning!  It is time for another challenge at Midweek Magnolias and this fortnight our challenge is 'Winter'.
 I have used the Old Swedish Church stamp from Magnolia and painted it with Distress Inks.  I love this scene so much.  I've added Stardust Stickles to the church steeple and window and the snow drifts.
The button twine and bells are from The Ribbon Girl.
 The gorgeous lace and the white blossoms are also from The Ribbon Girl.  The tree dies and pine fronds are also Doohickey dies.
  I've added die cut snowflakes using a Doohickey die.
 The text is a Magnolia stamp and so is the ribbon garland die that I've used to cut it out.
 I've added some Snow-Tex to the larger snowflakes and the church roof.
I hope you like it and I've inspired you to join us at Midweek Magnolias.  Pop over to the challenge blog to see the rest of the team's gorgeous creations.  Thanks for looking! x

♥

Sunday, 25 September 2016

Ribbon Girl DT - Ranunculus Headband

 Good morning!  Today I'd like to share with you an altered headband I made for my daughter using some gorgeous new flowers from The Ribbon Girl.
 These gorgeous Ranunculus flowers are available in white, lilac and pink and are perfect for larger projects.
 I have covered the headband by wrapping pale pink seam binding from The Ribbon Girl tightly around it.
Here's a close up of the centres of the flowers.  They are so beautiful!
I hope you like it and thanks for looking! x

♥