Showing posts with label Easel cards. Show all posts

Saturday, 1 June 2019

TOMIC DT - Sea and Summer


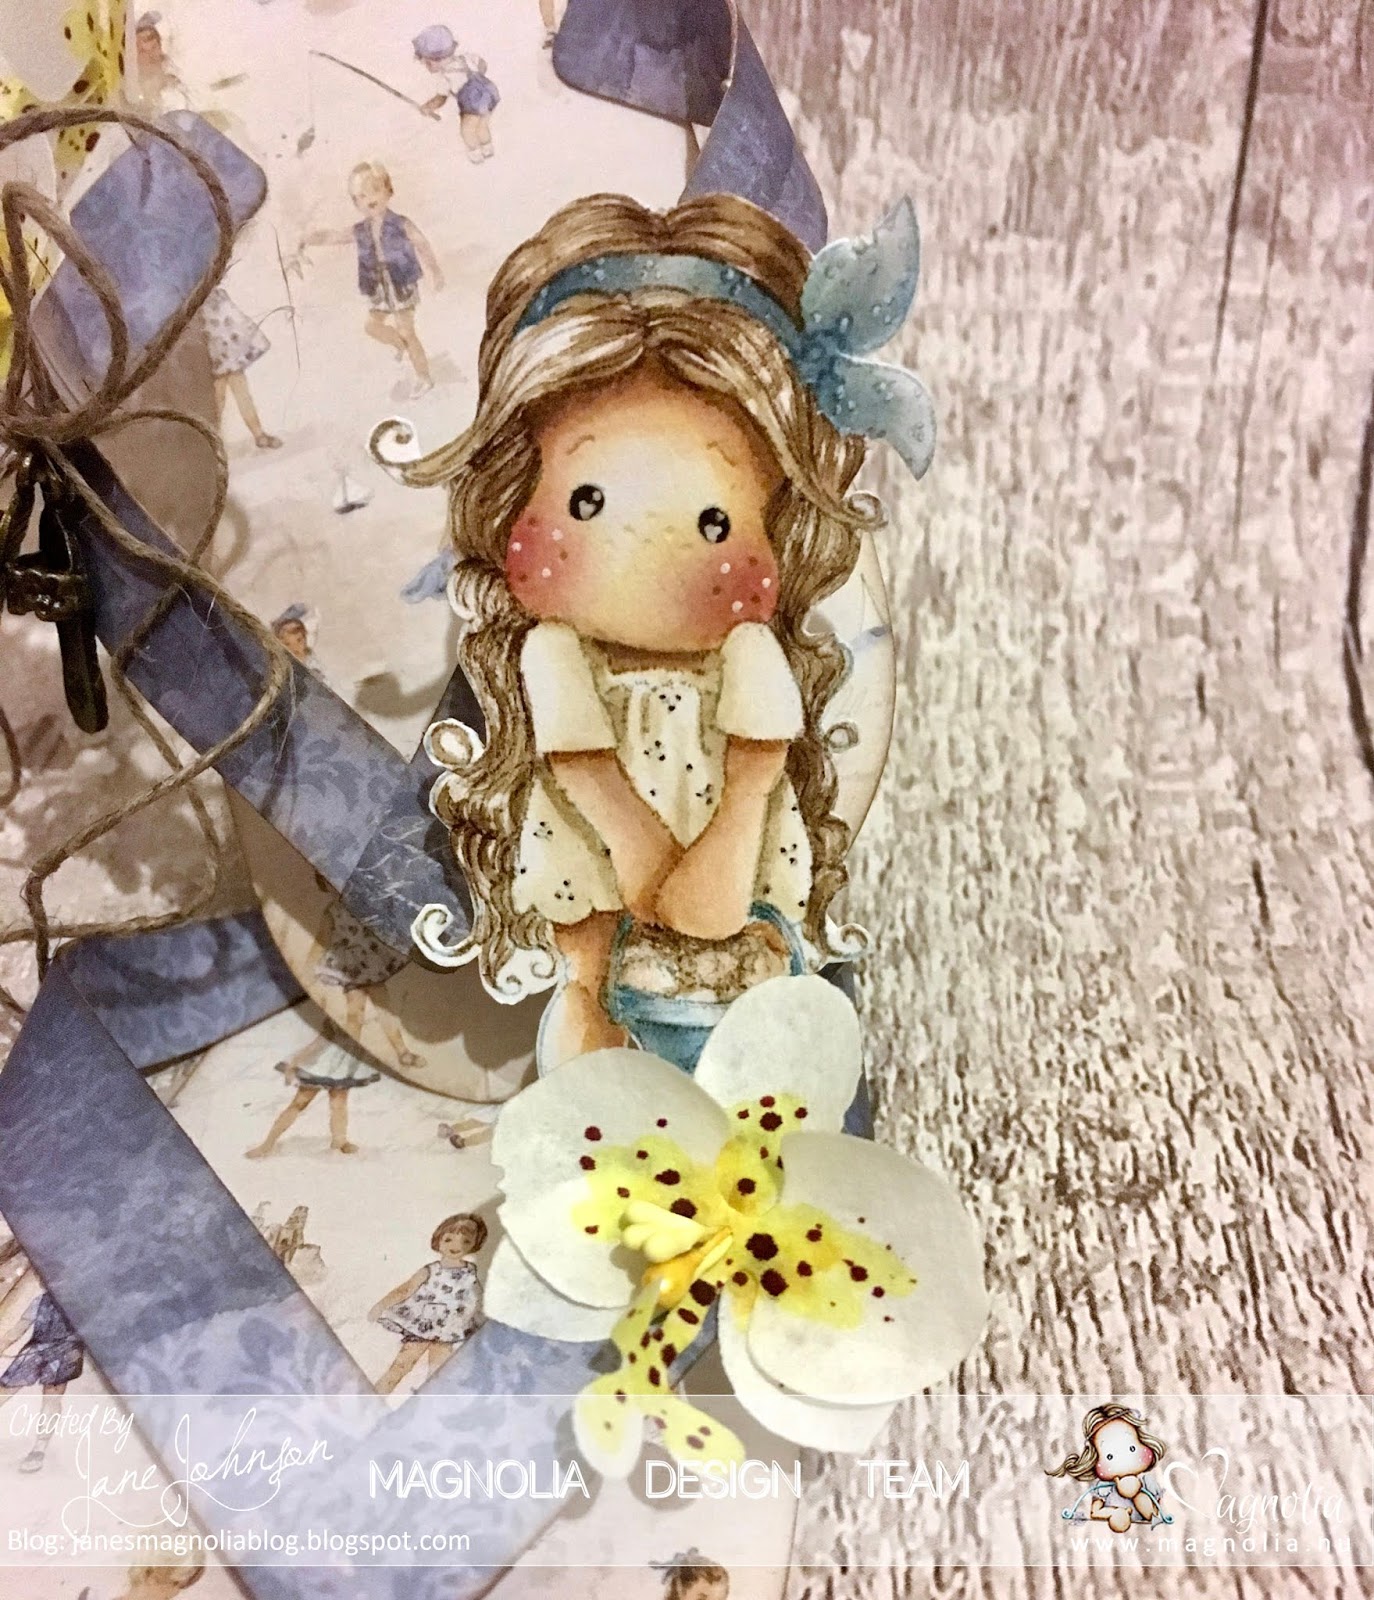
Good morning!  It is time for another challenge over on The Official Magnolia Inspirational Challenge Blog and our new theme is "Sea and Summer".  This challenge will run for the whole of June and July so you have plenty of time to get crafting to join us!  I have made a flip flop easel card using some gorgeous papers from Maja Design's Summertime paper collection.


I have used Seashell Tilda from the Sea Breeze Collection and painted her with Distress Inks using the no lines technique.  I have added some spots to her headscarf, eyes and cheeks using a white gel pen. 


I have used the orchid Doohickey dies to create the orchids from coffee filter paper and added details to them with Copic markers.


 I have added a couple of flip flop charms from Craft Heaven with some twine.


I hope you like it and I've inspired you to join us at The Official Magnolia Inspirational Challenge Blog.  Pop over to the blog to see the rest of the team's gorgeous cards.  Thanks for looking!

Wednesday, 10 April 2019

Craft Heaven DT - Happy Easter


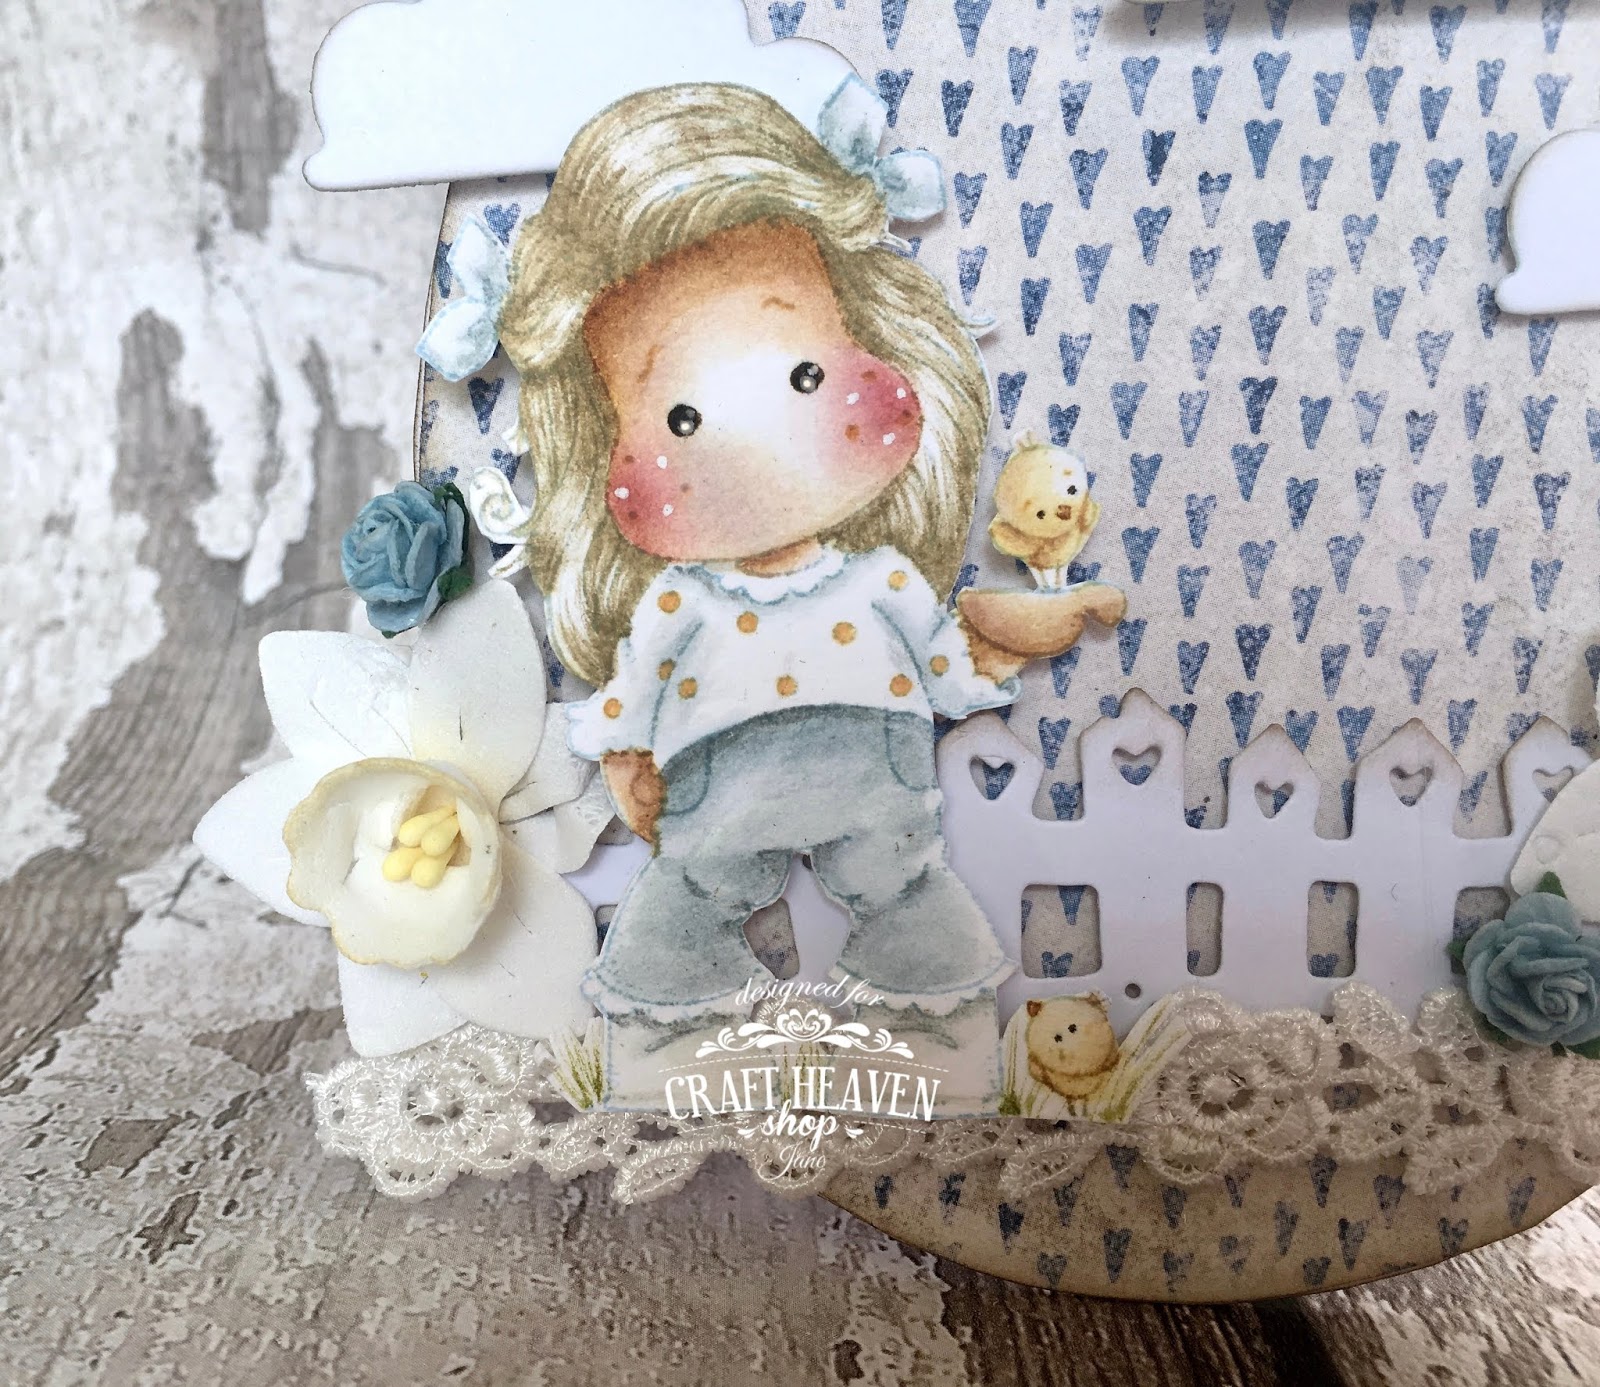
Good morning!  I have an Easter card to share with you today using the gorgeous Tilda With Little Chickens from last year's Sunbeam Collection.  I've teamed her with one of my favourite papers from Maja Design's Denim Collection.


I have painted Tilda with Distress Inks using the no lines technique and added white dots to her cheeks and eyes using a white gel pen.


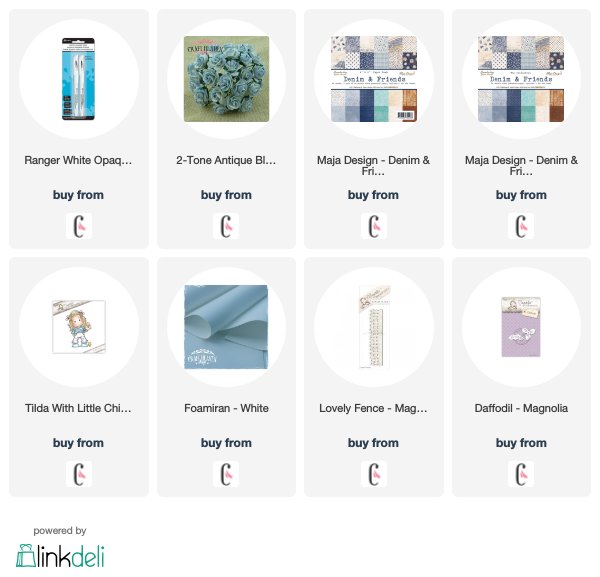
I have used the Daffodil Doohickey and Foamiran to make the Daffodils.  Before assembling I inked the centres of the flowers with Scattered Straw Distress Ink.  I've also added some blue roses to add a pop of colour.  The fence was cut with the Lovely Fence Doohickey and the lace is from Craft Heaven.


I've used the banner Doohickey from Volume 9 and the Happy Easter sentiment is from Magnolia too.  The cute clouds were cut with a die from Doohickey Volume 4.


I hope you like it and I've inspired you to make your own Easter cards.  Pop over to the Craft Heaven blog to see some more inspiration from the Design Team.  Thanks for looking!


Wednesday, 26 October 2016

Midweek Magnolias DT - Anything Goes

 Good morning!  It is time for another Midweek Magnolias challenge, and our theme is 'Anything Goes'.  Yes, I've created another Christmas card.
 I've painted the adorable Cozy Christmas Bear with Distress Inks, along with the Winter Forest.  I have cut out both and added Stardust Stickles from The Ribbon Girl to the edges of the branches and the hat and scarf.
 I have also added a Doohickey die cut fence, from last year's Autumn Doohickey kit, behind the trees.
 The sentiment is from Vintage Box 1 by Magnolia, stamped with grey ink for a softer look.
I hope you like it and I've inspired you to join us at Midweek Magnolias.  Pop over to the blog to see the rest of the team's gorgeous creations and details of this week's prize.  Thanks for looking! x

Sunday, 22 November 2015

Ribbon Girl DT - Twin Girls Card

Good morning!  I have a project to share today using lots of gorgeous Ribbon Girl goodies!  A card for the birth of twin girls!  I was commissioned to create this card and I gave the lady several different options for images.  She chose these cute prams that I had made up with different dies.  They were my favourite idea too but the trouble was they needed a huge card!  This double twisted easel card design was perfect because it meant the card could actually be a more reasonable size.
 For the prams I cut a large circle, cut it in half and then rearranged the pieces to form the base and hood.  I have used a Magnolia lace die for the frilly edges and part of a Magnolia swirl die for the pram handle.  Two small die cut circles for the wheels and a tiny, ready made bow from my stash, completes each pram.
 The sentiment is from a Tim Holtz set, stamped with Victorian Velvet Distress Ink.  The button and tulle are from The Ribbon Girl.
 The flags die is from Magnolia too and all of the gorgeous flowers are from The Ribbon Girl.
 I added a mirror image of the flower arrangement on the other side of the sentiment.
Here's another view looking down on the card.  I can never decide the best angle for easel card photographs lol!
This is what the card looks like when it is folded up to go in its matching box.
On the base of the inside of the box I added a die cut sentiment from Tim Holtz and some butterflies punched with a Martha Stewart punch.
To make the box easier to open I came up with this idea.  I attached a length of ribbon to the inside and draped it over one edge to the outside of the box.  Once the lid is on you can simply pull up on the ribbon and the box lid comes off with ease (and without breaking any nails lol!).  I added a layered butterfly to the part of the ribbon that hangs outside of the box.
 I hope you like it and thanks for looking!  Why not pop over to the Ribbon Girl blog and have a browse through the rest of the team's gorgeous creations. x


Wednesday, 6 August 2014

Magnolia-licious DT - "W"ednesday Post

 Good morning!  It is my turn to create a project for our "W"ednesday posts at Magnolia-licious.  I thought I'd make and easel card for a change as it has been a very long time since I made one!
 I've coloured Sympathy Bugs from Wee Stamps with Prismacolor Pencils on kraft cardstock.  I've also added some white dots with a gel pen.
 I've used the Magnolia Lace Peony dies for the flowers and the roses are from The Ribbon Girl.
 I've used the new Tim Holtz Butterflies die to create all the butterflies and the Doily on the edge die around the image.
I hope you like it.  Pop over to the blog to see some more "W"ednesday creations from my friends.  Thanks for looking! x

Friday, 20 July 2012

GDT Stamp Fairy

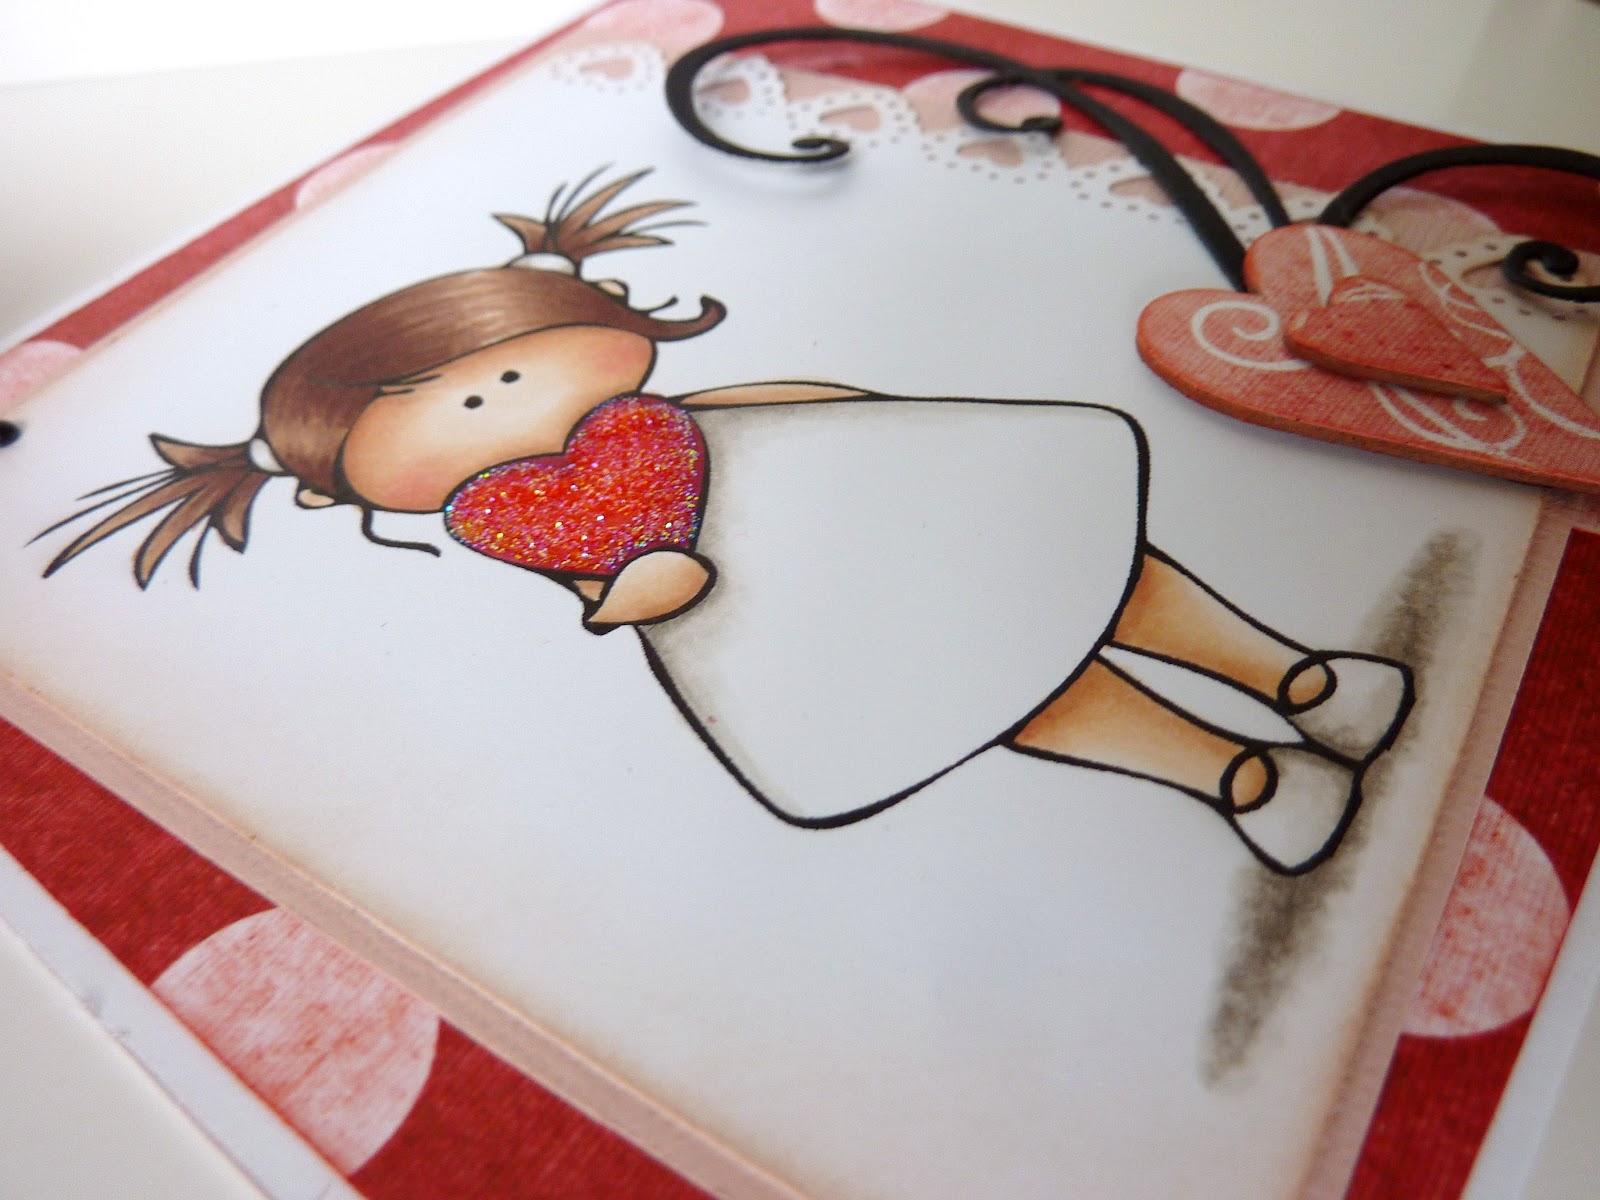
Today I'm guest designing for the Stamp Fairy again and this week's release is a love theme!  Isn't she a little cutie!?
I've coloured her with copics and added stickles to the heart.
I punched the edge of the image mat with Martha Stewart Heart Lace punch and added some chipboard hearts cut with a Sizzix die.  The black swirls were cut with Magnolia's Doohickey swirl die.
The sentiment on the bottom of the easel card is also newly released this week at The Stamp Fairy.  I've added some shading with copics and added stickles to the heart.
I hope you like it!  Have a peep at the whole release in the picture below and click to be taken to The Stamp Fairy site!

 Gorgeous aren't they!?  Thanks for looking! x

Saturday, 19 May 2012

Magnolia Down Under Challenges DT - Make Your Own Embellishments

Woohoo!!  It is time for another challenge at Magnolia Down Under Challenges and this week we have a challenge to make your own embellishments.  I have made my own flower, Union Jack pennants and Union Jack paper for my invitation to a BBQ in honour of the Queen's Diamond Jubilee!  It is such a special year this year in the UK, we have the Queen's Diamond Jubilee AND the Olympics to celebrate - how amazing is that!?!?!  I really chuckled making this card as I was 5 when the Queen celebrated her Silver Jubilee and I can still remember the street party I went to and what myself and my brother were dressed up as lol!!  If I can get my Mum to find the photo I'll show you - I dressed up as the Dutch girl from the Edam Cheese advert that was on TV at the time lol and my little brother dressed up as Noddy!!  LOL wouldn't it be funny to dress up as the same people for this Jubilee....now there's an idea!!!  Sorry, going off track there with my memories lol - back to my card!
 I used Tilda with Hamburger, Tilda's BBQ and the Invitation stamp except I masked out the Princess.... from the invitation stamp so that I could add "The Diamond Jubilee" instead.  The images are coloured with copics.  I added a crown charm from my stash and some gems along the bottom (diamonds!).
 I have added stickles to Tilda's dress and apron - got to have a sparkly dress for the Jubilee don't you think!?
 All of the flowers are from Wild Orchid Crafts except the large red and white one which I have made myself.
 On the base of the easel you can see my Union Jack paper in more detail.  The blue paper is from Basic Grey and the red spotty paper is from MME.  I have left the tag blank until I know further details of the party!
 I had great fun creating these mini Union Jack pennants!  I have used the pennant doohickey die #30 to cut the pennants from the blue paper before adding my Union Jack pattern with the red paper - really love how these turned out!
I hope you like it and I've inspired you to join us this week at Magnolia Down Under Challenges!  Pop over to the blog to see the rest of the team's stunning creations and hand made embellishments - there are some gorgeous ideas!  Thanks for looking! x

Tuesday, 27 March 2012

Sundays With Crissy Challenge DT - Animals

 Woohoo!  I'm back with my second project for today.  It is my turn to create for the Sundays With Crissy challenge and this month our theme is "Animals".   I had great fun creating this easel card to look like a pond and lily pad for Crissy's handsome "Frog Prince" digi from Whimsy Stamps.  It is made just like an ordinary easel card except I cut the easel part as a thin strip so it is hidden by the frog.
 I've coloured the image with copics and added some stickles to the jewel on his crown.
 I cut the lily pad freehand from some coredinations cardstock and the lily flower was created with some poinsettia flowers cut with a Marianne Creatables die.  I then added some stamens from my stash.
 I created a little sign and have written the Hoppy  Birthday myself.  Although there is the lily flower I think this card could still be given to a man - what do you think??
I hope you like it and I've inspired you to join us this month at Sundays With Crissy Challenge.  You still have a few more days left to enter!  Thanks for looking! x

Wednesday, 29 February 2012

Whiff of Joy Challenge DT - L.E.A.P

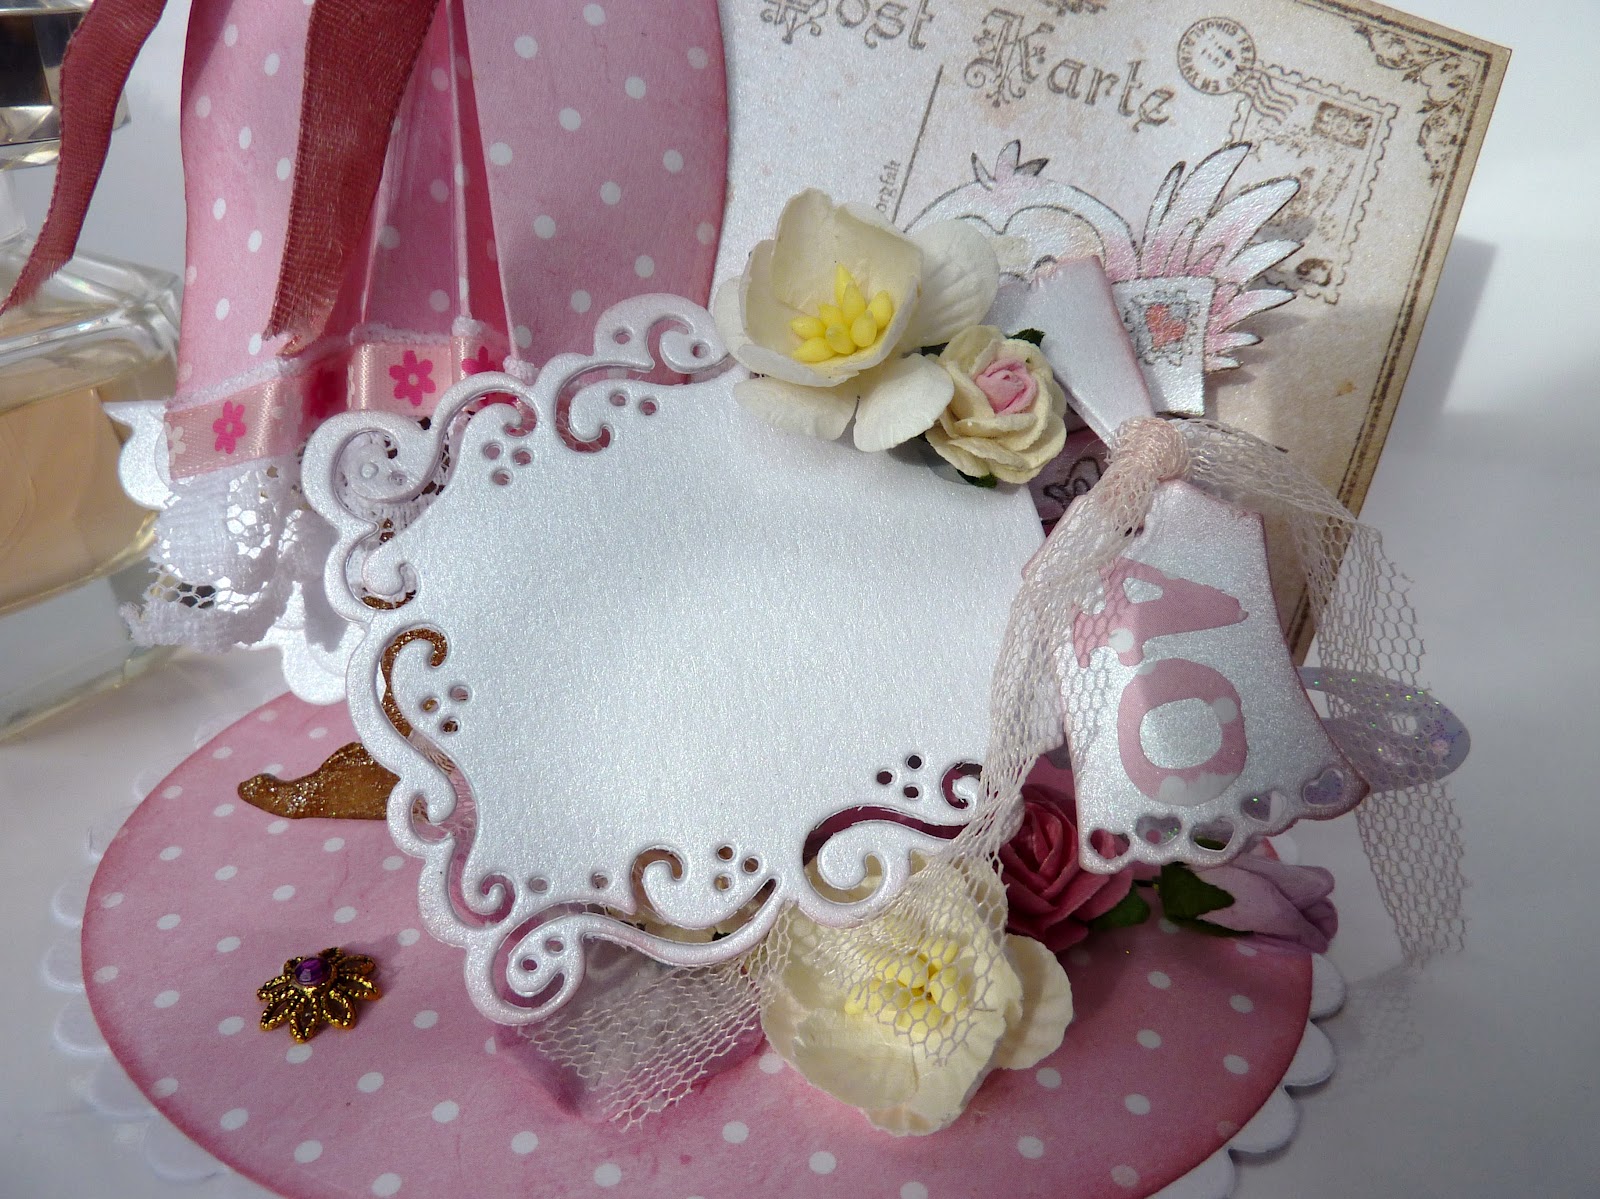
 Woohoo!!!  It is time for another challenge at Whiff of Joy Challenges and not only that, as you know, it is the 29th February!!!  Now, as the 29th February only happens every four years and our challenge happened to fall on it, we thought we should have a leap year themed challenge :)!  Our challenge is "L.E.A.P", which stands for Lace, Easel card, Animal and Pink - we would like to see all four elements on your cards/projects!    Sounds like fun right!?  I have another fancy easel card to show today - loving doing something that little bit different at the moment!  The papers are scraps from my stash, inked with victorian velvet distress ink.
 I used Tim's sewing room die to cut out the tailors dummy.  The dress form part I have cut from sticky back canvas and then I have created a skirt from paper to match the base of the easel.  I have added lace from The Pretty Little Ribbon Shop and some ribbon from my stash.  I gave the skirt a "belt" using some ribbon from Whiff of Joy, stained with victorian velvet distress ink.  I have used the Whiff of Joy mini stamp "birdie with love letter" and coloured it with copics.
 I added a bow of tulle at the neck of the dummy along with a gem from my stash.
 The gorgeous postcard stamp is from Whiff of Joy, stamped with archival coffee.  The edges were inked with frayed burlap distress ink and I have given the postcard a spritz of pink glimmer mist.  There is a pocket behind the postcard for a tag which I have created with a doohickey die.  The cute little tag with "40" on it was cut with a Whiff of Joy die.
 The butterfly was punched with a Martha Stewart punch and covered in stickles.
 I have added a selection of flowers from my stash, all from Wild Orchid Crafts except the hydrangea which is by Prima.  The gold embellishment is a spacer on top of a bead and topped with a gem.
 Here's a peek at the tag removed from the pocket - all ready for a personal message.
I hope you like it and I've inspired you to join us this fortnight at Whiff of Joy Challenges!  Pop over to the blog to see the rest of the team's stunning creations!  Thanks for looking! x