Showing posts with label Christening Cards. Show all posts

Sunday, 15 November 2020

Snow Angel Card


Good afternoon!  I'm excited to show you today's Christmas card that I have made to give to my daughter this year.  As soon as I saw the image of Tilda making a snow angel I wanted to see if I could make her actually make snow angel movements.  

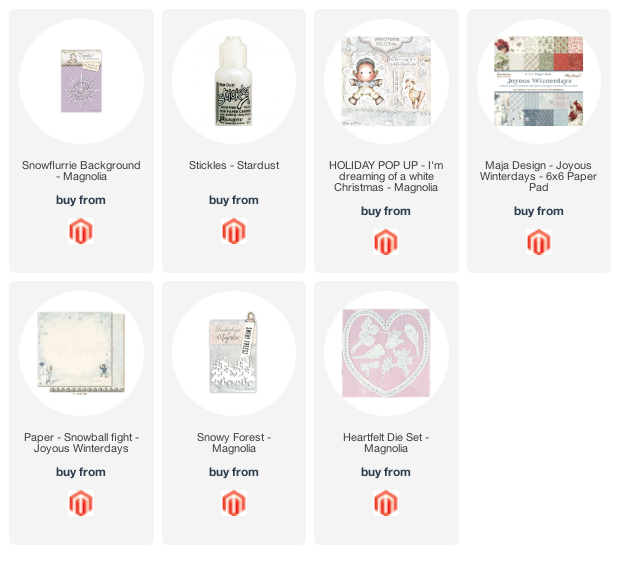
The card base was cut with the Heartfelt Doohickey die and the papers are by Maja Design and the silver glitter card is from my stash - I recycled it from some Christmas crackers!


As always I have painted Tilda with Distress Inks using the no lines technique.  I have added Stardust Stickles to the snowflake on her trousers.


I have used the background snowflake Doohickey die from the Aspen Holidays collection by Magnolia behind the image and coated it in Stickles too.   I have also used the snowy forest Doohickey but have cut the row of trees in half and layered them up.  The blossoms are from Craft Heaven and the 'I'm dreaming of a white Christmas' sentiment comes with Tilda in the stamp set of the same name.
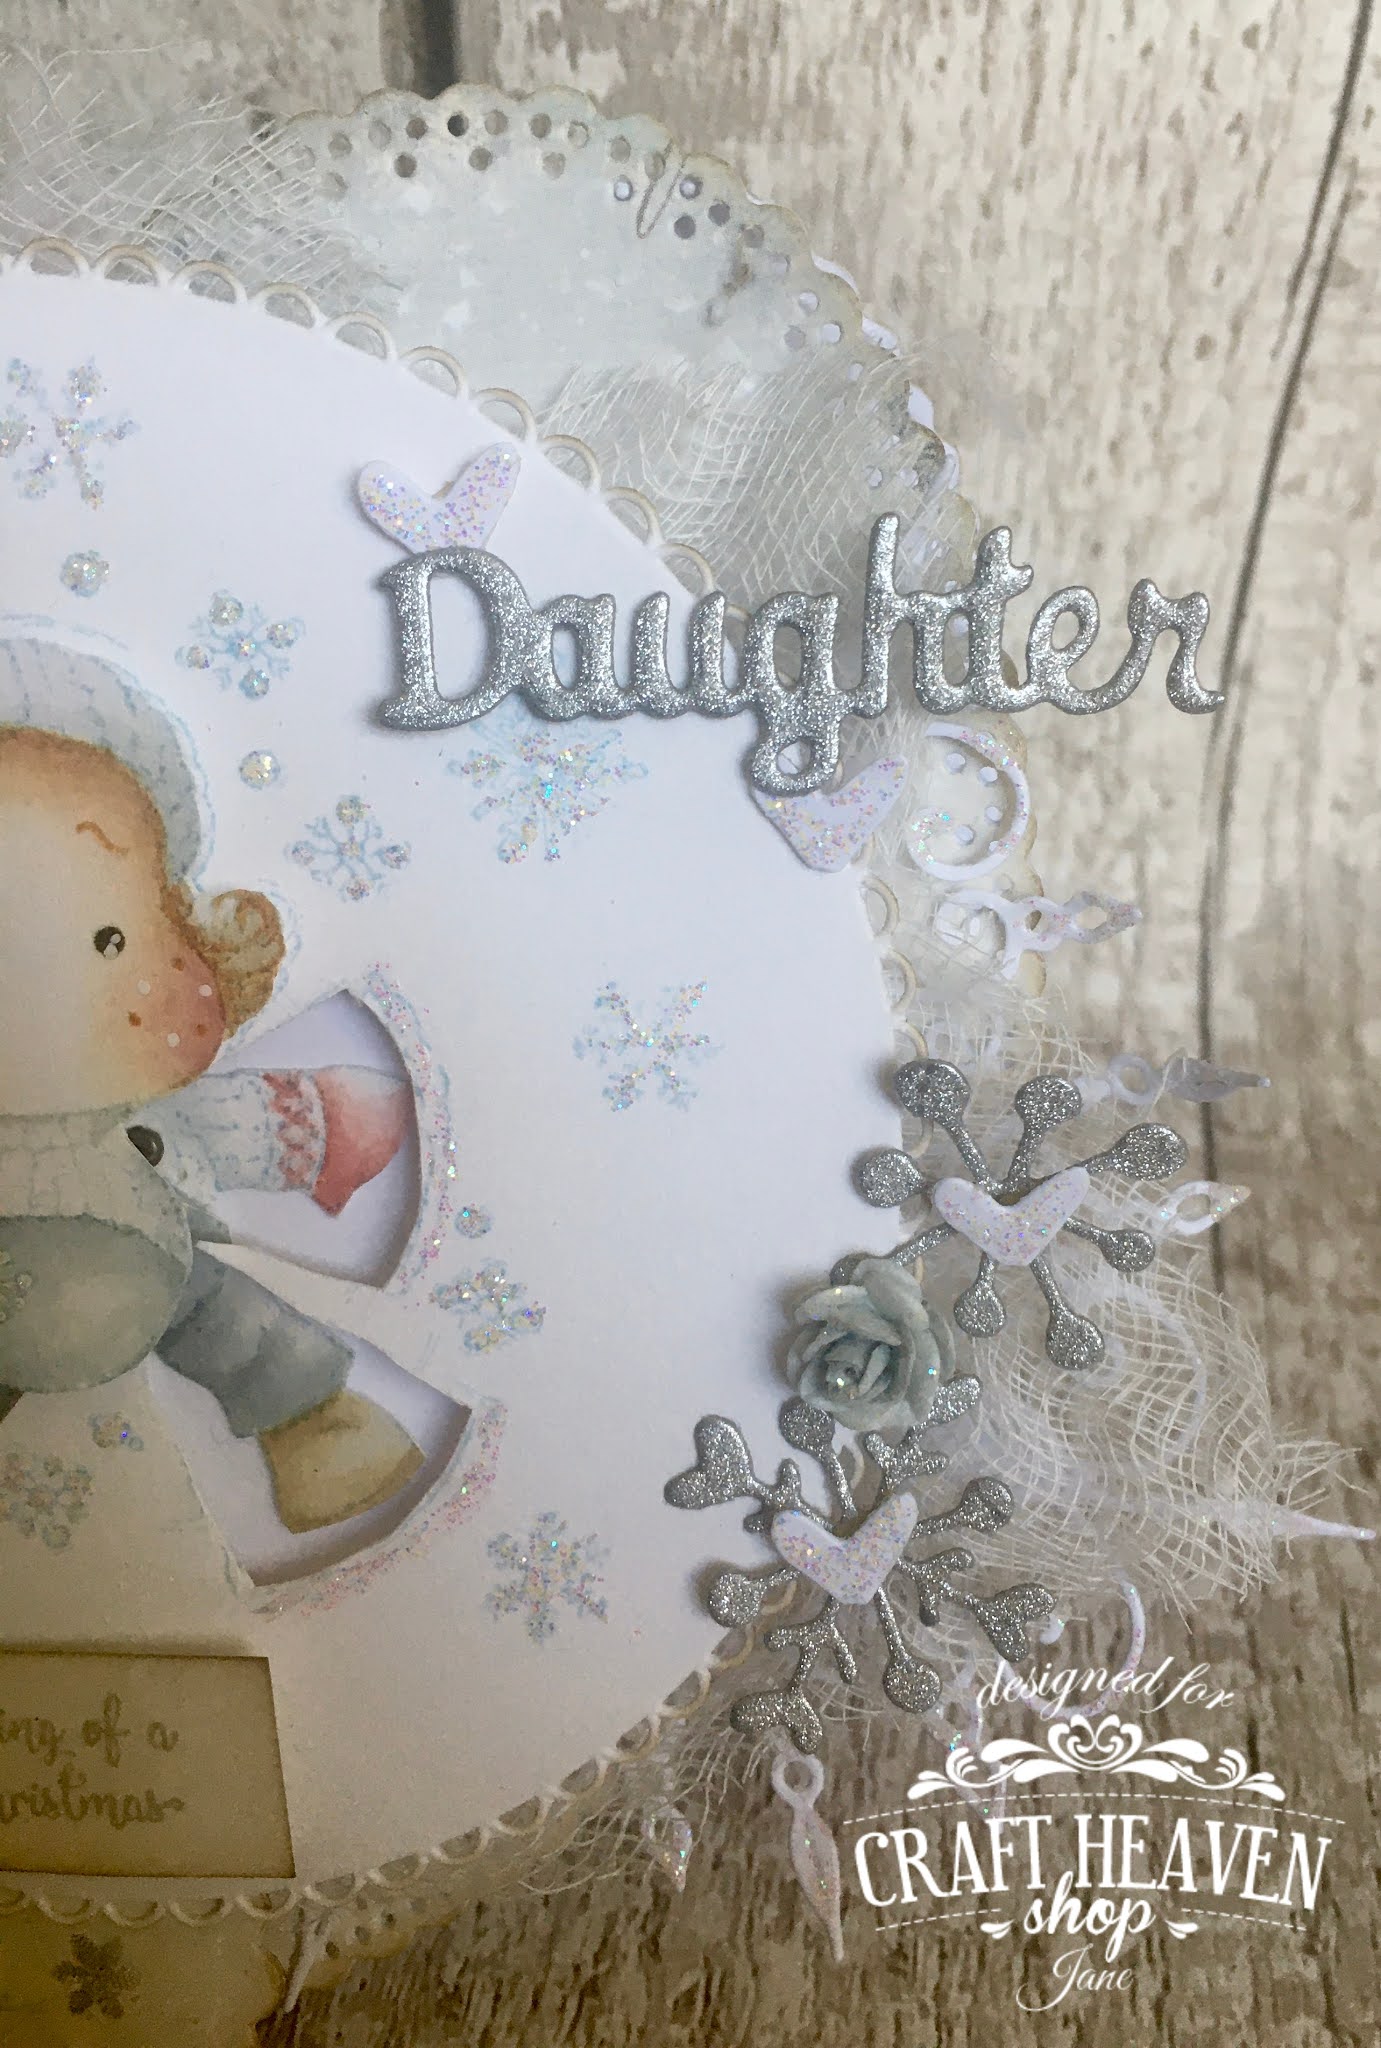

The smaller snowflakes were cut with the snowflake Doohickeys from the Cocoa Tilda Stamp n Cutz set and the hearts in the centres are off cuts from the large snowflake die.  The 'Daughter' was cut with a die from my stash.


Here's a little video clip showing Tilda making her snow angel!


I hope you like it and thanks for looking.  Stay safe! 

Friday, 28 July 2017

Stempelglede Baby Boy Card

 Good morning!  I have a new baby card to share with you today using Stempelglede's Vintage Baby stamp set.
 I stamped the photo onto Ranger Gloss Paper and have inked the edges with Walnut Stain Distress Ink.  The sentiment and the crown are also from the same stamp set.
I have used straws, twine and buttons for the embellishments.  The blue doily is from my stash.  My friend is a massive Disney fan so I added a little nod to Mickey on the card for fun.  She spotted it straight away - can you see it?
I have used a Doohickey die for the pennant flags and stamped the baby's name with alphabet stamps.  the bottle, baby vest and nappy pin were cut using a Whiff of Joy die.
I have stamped the date of birth on the backing paper with a date stamp.
 I hope you like it and thanks for looking! x


Sunday, 22 November 2015

Ribbon Girl DT - Twin Girls Card

Good morning!  I have a project to share today using lots of gorgeous Ribbon Girl goodies!  A card for the birth of twin girls!  I was commissioned to create this card and I gave the lady several different options for images.  She chose these cute prams that I had made up with different dies.  They were my favourite idea too but the trouble was they needed a huge card!  This double twisted easel card design was perfect because it meant the card could actually be a more reasonable size.
 For the prams I cut a large circle, cut it in half and then rearranged the pieces to form the base and hood.  I have used a Magnolia lace die for the frilly edges and part of a Magnolia swirl die for the pram handle.  Two small die cut circles for the wheels and a tiny, ready made bow from my stash, completes each pram.
 The sentiment is from a Tim Holtz set, stamped with Victorian Velvet Distress Ink.  The button and tulle are from The Ribbon Girl.
 The flags die is from Magnolia too and all of the gorgeous flowers are from The Ribbon Girl.
 I added a mirror image of the flower arrangement on the other side of the sentiment.
Here's another view looking down on the card.  I can never decide the best angle for easel card photographs lol!
This is what the card looks like when it is folded up to go in its matching box.
On the base of the inside of the box I added a die cut sentiment from Tim Holtz and some butterflies punched with a Martha Stewart punch.
To make the box easier to open I came up with this idea.  I attached a length of ribbon to the inside and draped it over one edge to the outside of the box.  Once the lid is on you can simply pull up on the ribbon and the box lid comes off with ease (and without breaking any nails lol!).  I added a layered butterfly to the part of the ribbon that hangs outside of the box.
 I hope you like it and thanks for looking!  Why not pop over to the Ribbon Girl blog and have a browse through the rest of the team's gorgeous creations. x


Friday, 15 August 2014

Stempelglede DT - A Christening Card


 Good morning!  I have another Stempelglede creation for you today using the stunning photo stamp from Vintage Baby.  Even though I also have used Gunhild's amazing Christmas photo stamps for many years I am still stunned and amazed every time I stamp a photo stamp, they are just incredible!
I have also used the 'Little Prince' sentiment from the Follow Your Heart collection.  All of the flowers are from The Ribbon Girl.
 The 'On your Christening' sentiment I created on the computer.  The gorgeous seam binding, button twine and gorgeous diamante cross are also from The Ribbon Girl.
 I have created the butterflies using the stamp from Vintage Baby and coffee filter paper.
 I have also used gorgeous lace from The Ribbon Girl and lots of layering with corrugated card and tags cut with Doohickey dies.
 The gorgeous gingham ribbon is also from The Ribbon Girl and there's another stamped butterfly too.
\I hope you have enjoyed looking at my creation.  Have a lovely day and thanks for looking! x