Monday, 31 October 2011

Whiff of Joy DT - Gift Bag Tutorial

I have another image from the Whiff of Joy winter kit to share with you today - this little cutie will be available as a separate stamp tomorrow (along with all the other stamps from the kit). She is one of my favourites from the new kit - love her hair and of course she has cookies so how can you not love her LOL!? I created a gift bag to put Christmas biscuits in and I have created a tutorial for the Whiff of Joy Inspirations blog to show you how to create one of your own.
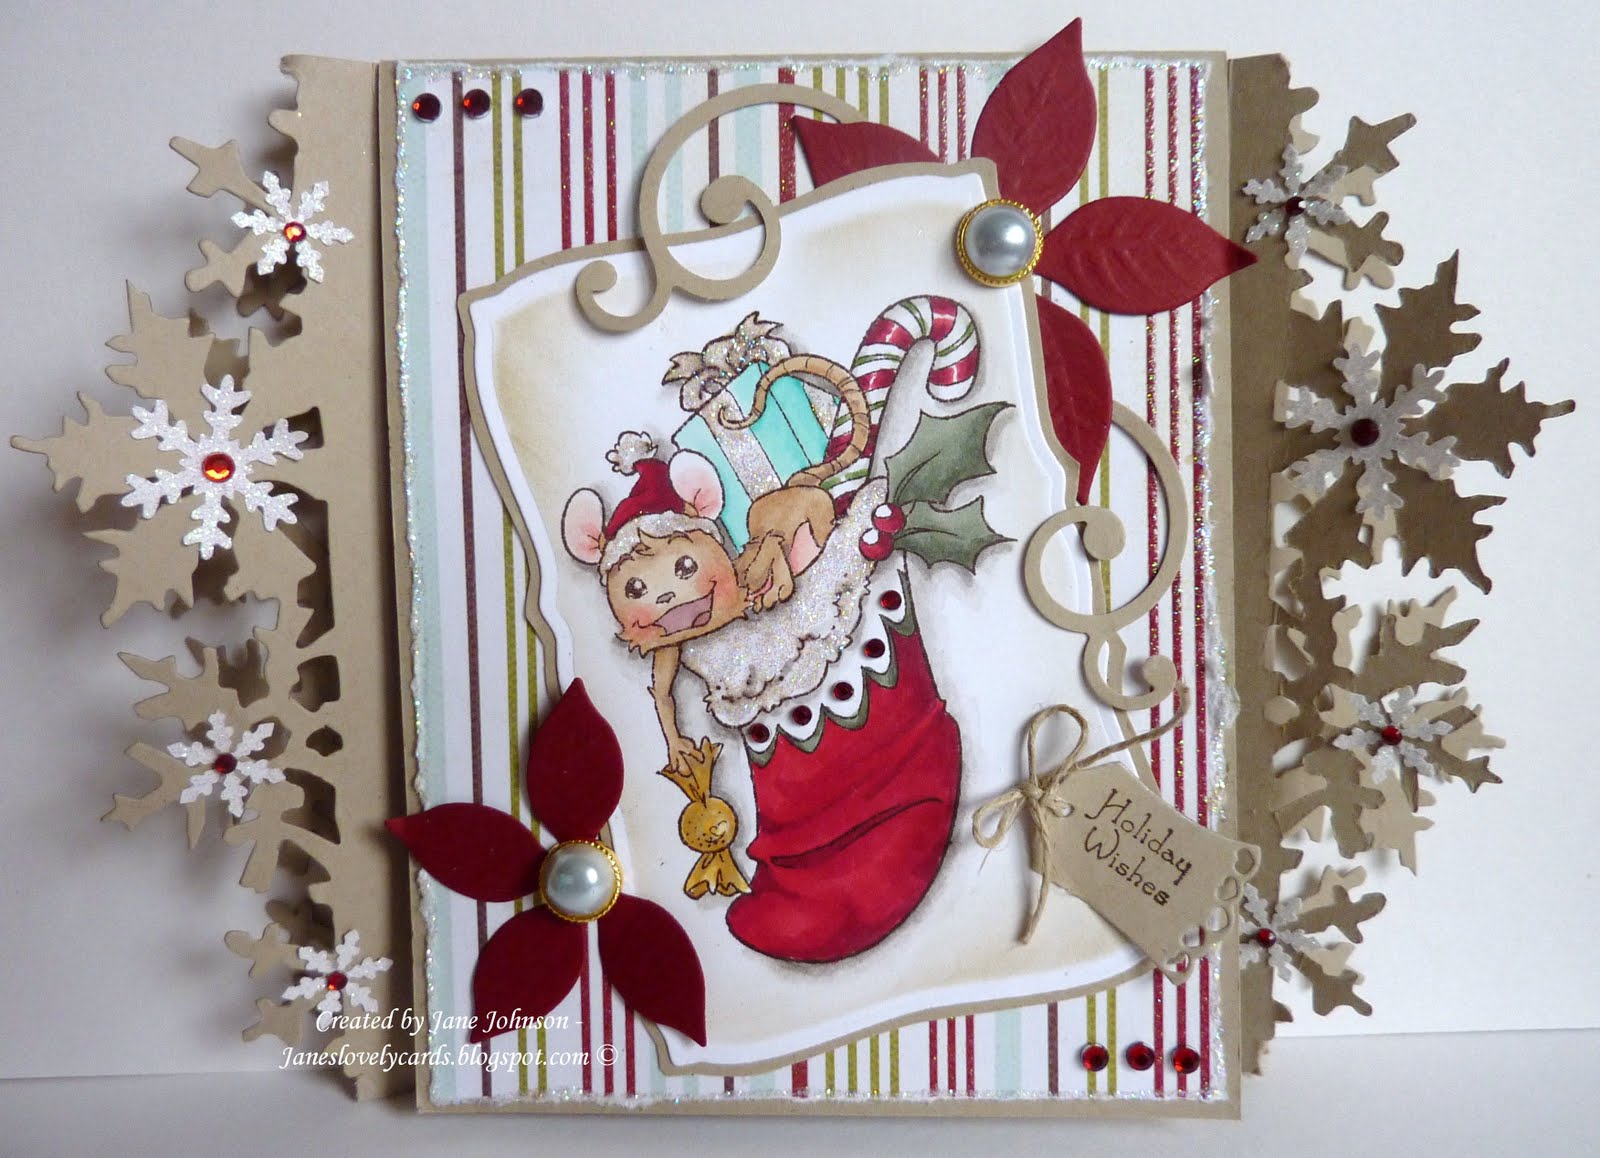
I have coloured the image with copics.
I added a poinsettia from my stash along with some holly leaves cut with a Whiff of Joy die and some more gorgeous pinecones created with my Tim Holtz die - told you I'd gone mad with them this week LOL! The large branch leaves were cut with the pinecone die too.
I created some Christmas biscuits with some kraft cardstock inked with distress inks and the icing is liquid pearls.
I used the Sweet tag with hearts die from Whiff of Joy and the sentiment is from the winter kit.
The ribbon is from East of India and I also added some cheesecloth and gems.
On the back I have added some gems, cheese cloth and another gorgeous image from the Winter kit, again coloured with copics.
Hope you like it and you find my tutorial useful! Thanks for looking! x

Sunday, 30 October 2011

Whiff of Joy DT - Winter Kit stamps


Woohoo!! The Whiff of Joy winter kit is arriving on doormats everywhere right now and the great news is that the individual stamps are going to be released on 1st November too! So if you didn't get your hands on the kit you can soon have the single stamps! I have made an accordian card using papers by K&Co.
I have coloured the images with copics and added stickles to the shading around their feet.


I have added a poinsettia from my stash, some flowers from Wild Orchid Crafts and a pinecone made with my new Tim Holtz die - I am so addicted to making these pinecones - be warned they are going to be turning up on lots of my projects this week LOL - I made a big batch of them thinking they'd last a while and have used them all already!! They just instantly say Christmas to me as soon as I add one to my creation!


Here is the card when it is unfolded. I have added two more gorgeous images from the kit and a sentiment.


This sweetie pie is all dressed up for Lucia - isn't she gorgeous!?


Another little cutie holds a candle. I have punched the top edge of the card with a Martha Stewart punch.

The sentiment comes with the winter kit but will be available with a stamp from 1st November. See the postage stamp?? That is also a Whiff of Joy stamp - there are a whole set of them and a matching die - so gorgeous! The star is from a Prima christmas bauble and the ribbon is from my stash.
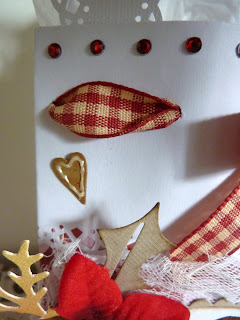
The flower arrangement from the front of the card is actually on the second fold of the card - the front image simply tucks under the poinsettia when the card is closed. I added another rose and a wooden button from The Hobby House to give a more complete looking arrangement when the card is open.


The other gorgeous sentiment also came with the Winter Kit but will be available with a stamp from 1st November.

Here is a view of the card from the reverse. I left one panel plain as I loved the reindeer on the paper and I have added a blank circle for a message along with a small poinsettia from my stash. I hope you like it and thanks for looking! x

Saturday, 29 October 2011

Whiff of Joy DT - Preview Time!

Hope you're loving the Whiff of Joy previews as much as I am - they're all so cute aren't they!? Today I have my first magic card to show you. You can find the tutorial on Stampartic here. I have used kraft cardstock as my base card and a scrap of paper from my stash.

I have coloured the image with copics and added stickles to the fur trims.

I used the Tim Holtz snow flurries die on all the edges and then added some punched snowflakes here and there.

The sentiment is from Whiff of Joy's new banner sentiment set which is also to be released on 1st November and I have cut it with the sweet tag with hearts from Whiff of Joy - love that these sentiments fit in the cute small tag! The button twine is also from Whiff of Joy.

I added some poinsettias cut with a Marianne creatable die and the brads are also from Whiff of Joy.

I hope you like it and thanks for looking! x

Friday, 28 October 2011

Pink Ink Sketch Challenge DT -

Woohoo!!! It is time for another challenge at Pink Ink Sketch Challenges and this fortnight we have a gorgeous sketch by Natalie for you! I used it to create an Anniversary card for my parents who celebrated their anniversary last week! I used some stunning papers from my friend Louise - I almost couldn't cut into them but I just knew my Mum would love the colours on them! I have inked all the edges with vintage photo distress ink.


I used the gorgeous heart text stamp by Magnolia, embossed with copper embossing powder. I stamped the heart a second time onto some of the rose paper, inked it with vintage photo, then painted it with clear crackle paint.


The seam binding is from The Pretty Little Ribbon Shop and the brad is from Whiff of Joy. I have also added some cheese cloth behind the heart text stamp.


I added a pin from my stash and added some tiny beads to the point to protect people's fingers. The gorgeous butterfly is from The Hobby House - it started out gold and I've distressed it with copics. The sentiment is by Whimsy Stamps, also embossed with copper embossing powder.


Another view just because I love how the heart turned out LOL :).

I added a selection of flowers from my stash, the large flower is by Hero Arts and I added lots of gold beads to the centre for pollen. The pink and white rose is from Wild Orchid Crafts and the lily and pink rose are from my local craft shop, Running with Scissors.


A close up of the large flower - the centre is really easy to create but looks so effective!


As we bought my parents some Champagne to celebrate their anniversary I decided to make a little bottle tag to match the card. I used the same papers and of course the heart text stamp.


I added similar embellishments to the card and some more cheese cloth (love this stuff). The leaves were punched with a woodware punch and sprayed with glimmer mist. I hope you like it and I've inspired you to join us this fortnight at Pink Ink Sketch Challenge! Pop over to the challenge blog to see the rest of the team's stunning creations! Thanks for looking! x

Whiff of Joy DT - Another Preview!

I have another Whiff of Joy preview to show you today! These will be released on 1st November so you don't have long to wait at all! I have used scraps of paper from my stash - I'm trying to be good and use up what I have before buying more :). I've inked the edges with walnut stain distress ink and added stickles.

I have coloured cute Henry with gingerbread with copics and added stickles to the gingerbread man's buttons and liquid pearls for icing.
The gorgeous border was cut with a Whiff of Joy die and I've added some lush ribbon from my stash and a pin.
The fabulous banner stamps cone in an amazing CD set with several frames and sentiments to choose from which all fit the banner die available separately!
I hope you like it and thanks for looking! x

Thursday, 27 October 2011

Sundays with Crissy DT - Thanksgiving/Thanks

Woohoo! It is my turn to create a card for this month's Sundays With Crissy challenge which this month is Thanks/Thanksgiving. You have until the end of October to enter - I hope you can join us! I have used a stunning digi image by Crissy, called "Stuffed Turkey" LOL. This image really makes me chuckle and I think he's perfect for Christmas cards, Thanksgiving cards and even a Thank You card after you've had a dinner party somewhere! I have used papers from MME's Christmas Glitter paper pad.

I have coloured the image with copics and inked around the edges of the image mat with gathered twigs distress ink.


The sentiment is from Whiff of Joy and the mistletoe diecuts were cut with a Magnolia doohickey die. I have added gold stickle berries.


I added some ribbon from my stash and a berry spray from Hobby Craft. The doily is recycled from a recent restaurant visit :)! LOL I made everyone take their doilies from under their desert bowls before the started eating - always on the look out for useful card making items LOL!


I hope you like it and I've inspired you to join us at Sundays With Crissy Challenge! Thanks for looking! x

Wednesday, 26 October 2011

Tilda in a Meadow for TOMIC

Yay! I have managed to create a card for the TOMIC challenge again! The challenge this week is a Bingo card - I just love these challenges! I have used the line "use a doohickey, use a Magnolia accessory stamp and use butterflies" for my card. The papers are from the Sweet Rainbow collection and I've sewn the edges and added stickles.

Now, this is Tilda with winter flowers but I just love that she can be used for any time of year if you change the flower colours and clothing colours! I have teamed her with the flowers stamp from an older collection which I've stamped either side of her to create a little flower meadow. I've coloured the images with copics and added some stickles and liquid pearls. I'm really pleased how the grass turned out - my most successful attempt so far I think - I love it so be prepared to see a lot more grass around Tilda's feet in future LOL!

I have added lots of flowers from my stash and of course some butterflies punched with a Martha Stewart punch.


I have used the doohickey fence die on either side of the image too.


I have used my new Tim Holtz vintage lace die for the paper lace along the bottom and I added some liquid pearl dots to it too.

I hope you like it and thanks for looking! x